Operations with layers
You can work with layers within a scene:
To open the scene:
-
Go to the Dashboards tab.
-
Open the required dashboard.
-
To switch scenes, use the arrows
 and
and  . If there is only one scene in the dashboard, it opens automatically when you open the dashboard.
To open the required scene directly, click the scene name in the top menu of the dashboard and select a scene from the list. Alternatively, click
 icon, select Scenes, and then select a scene from the list.
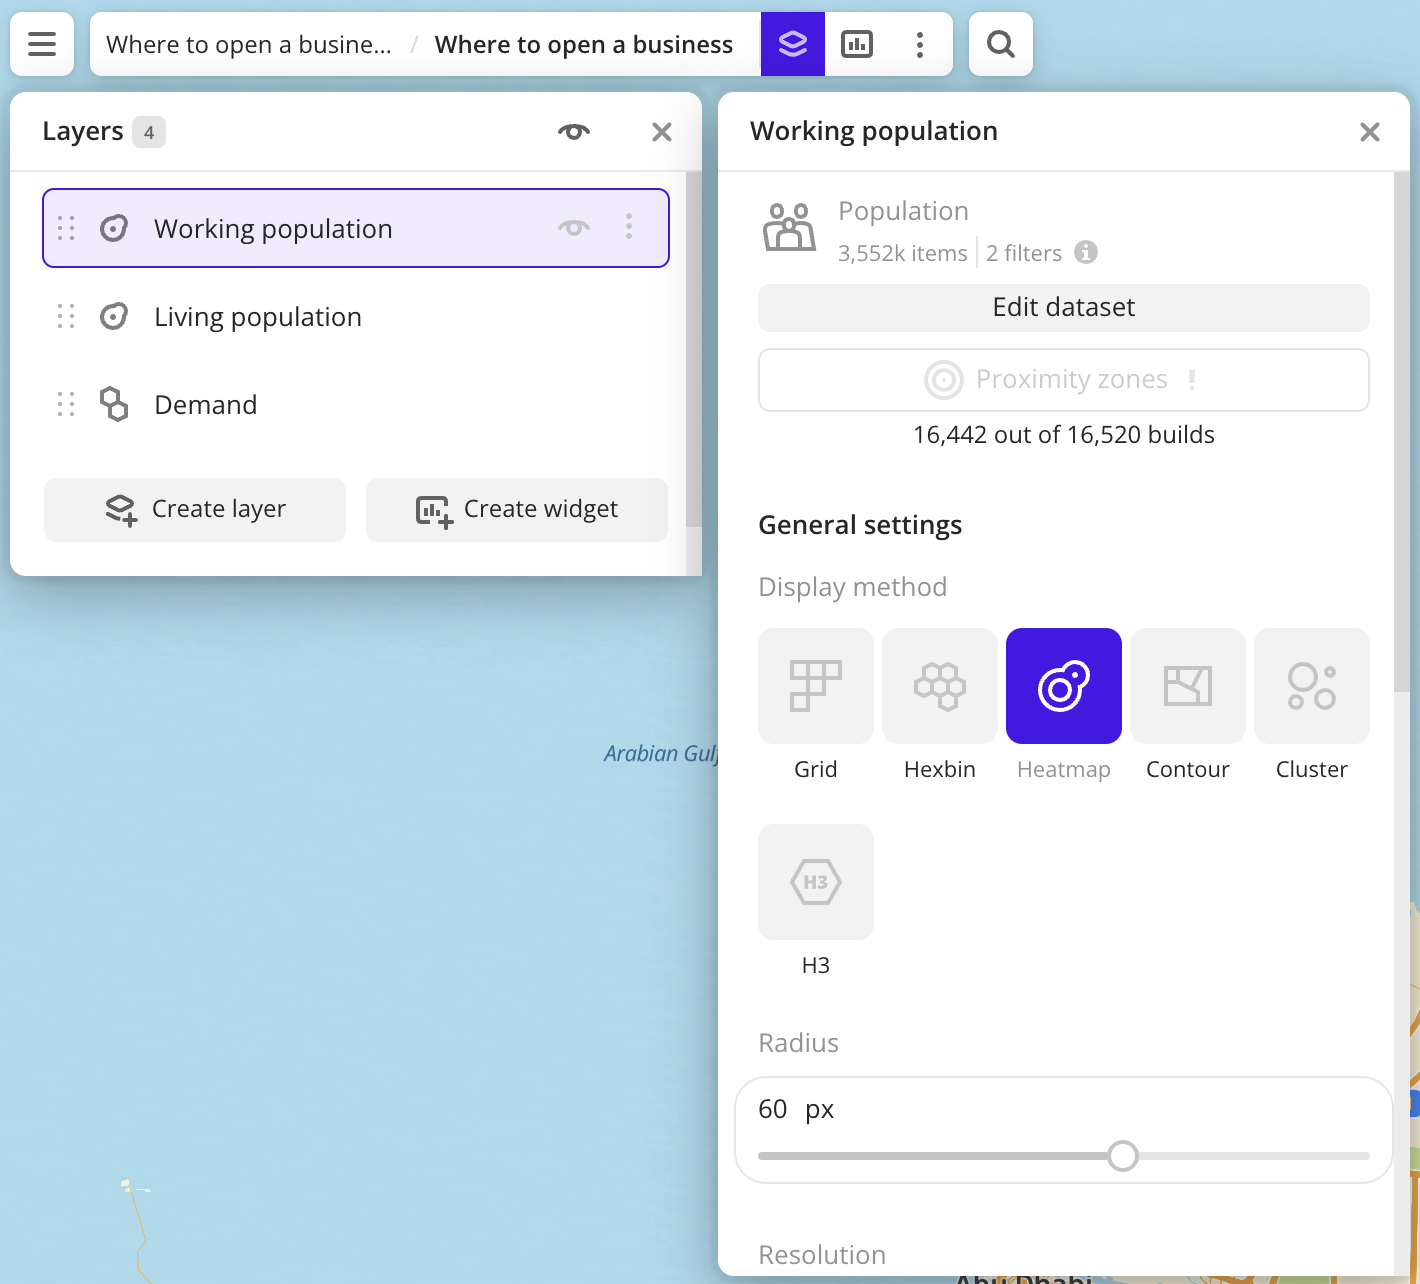
Getting information about a layer
To open the layer, in the top menu of the dashboard, click ![]() icon and select the required layer.
icon and select the required layer.
Information about the layer, the data sample, and visualization parameters are displayed. Example:
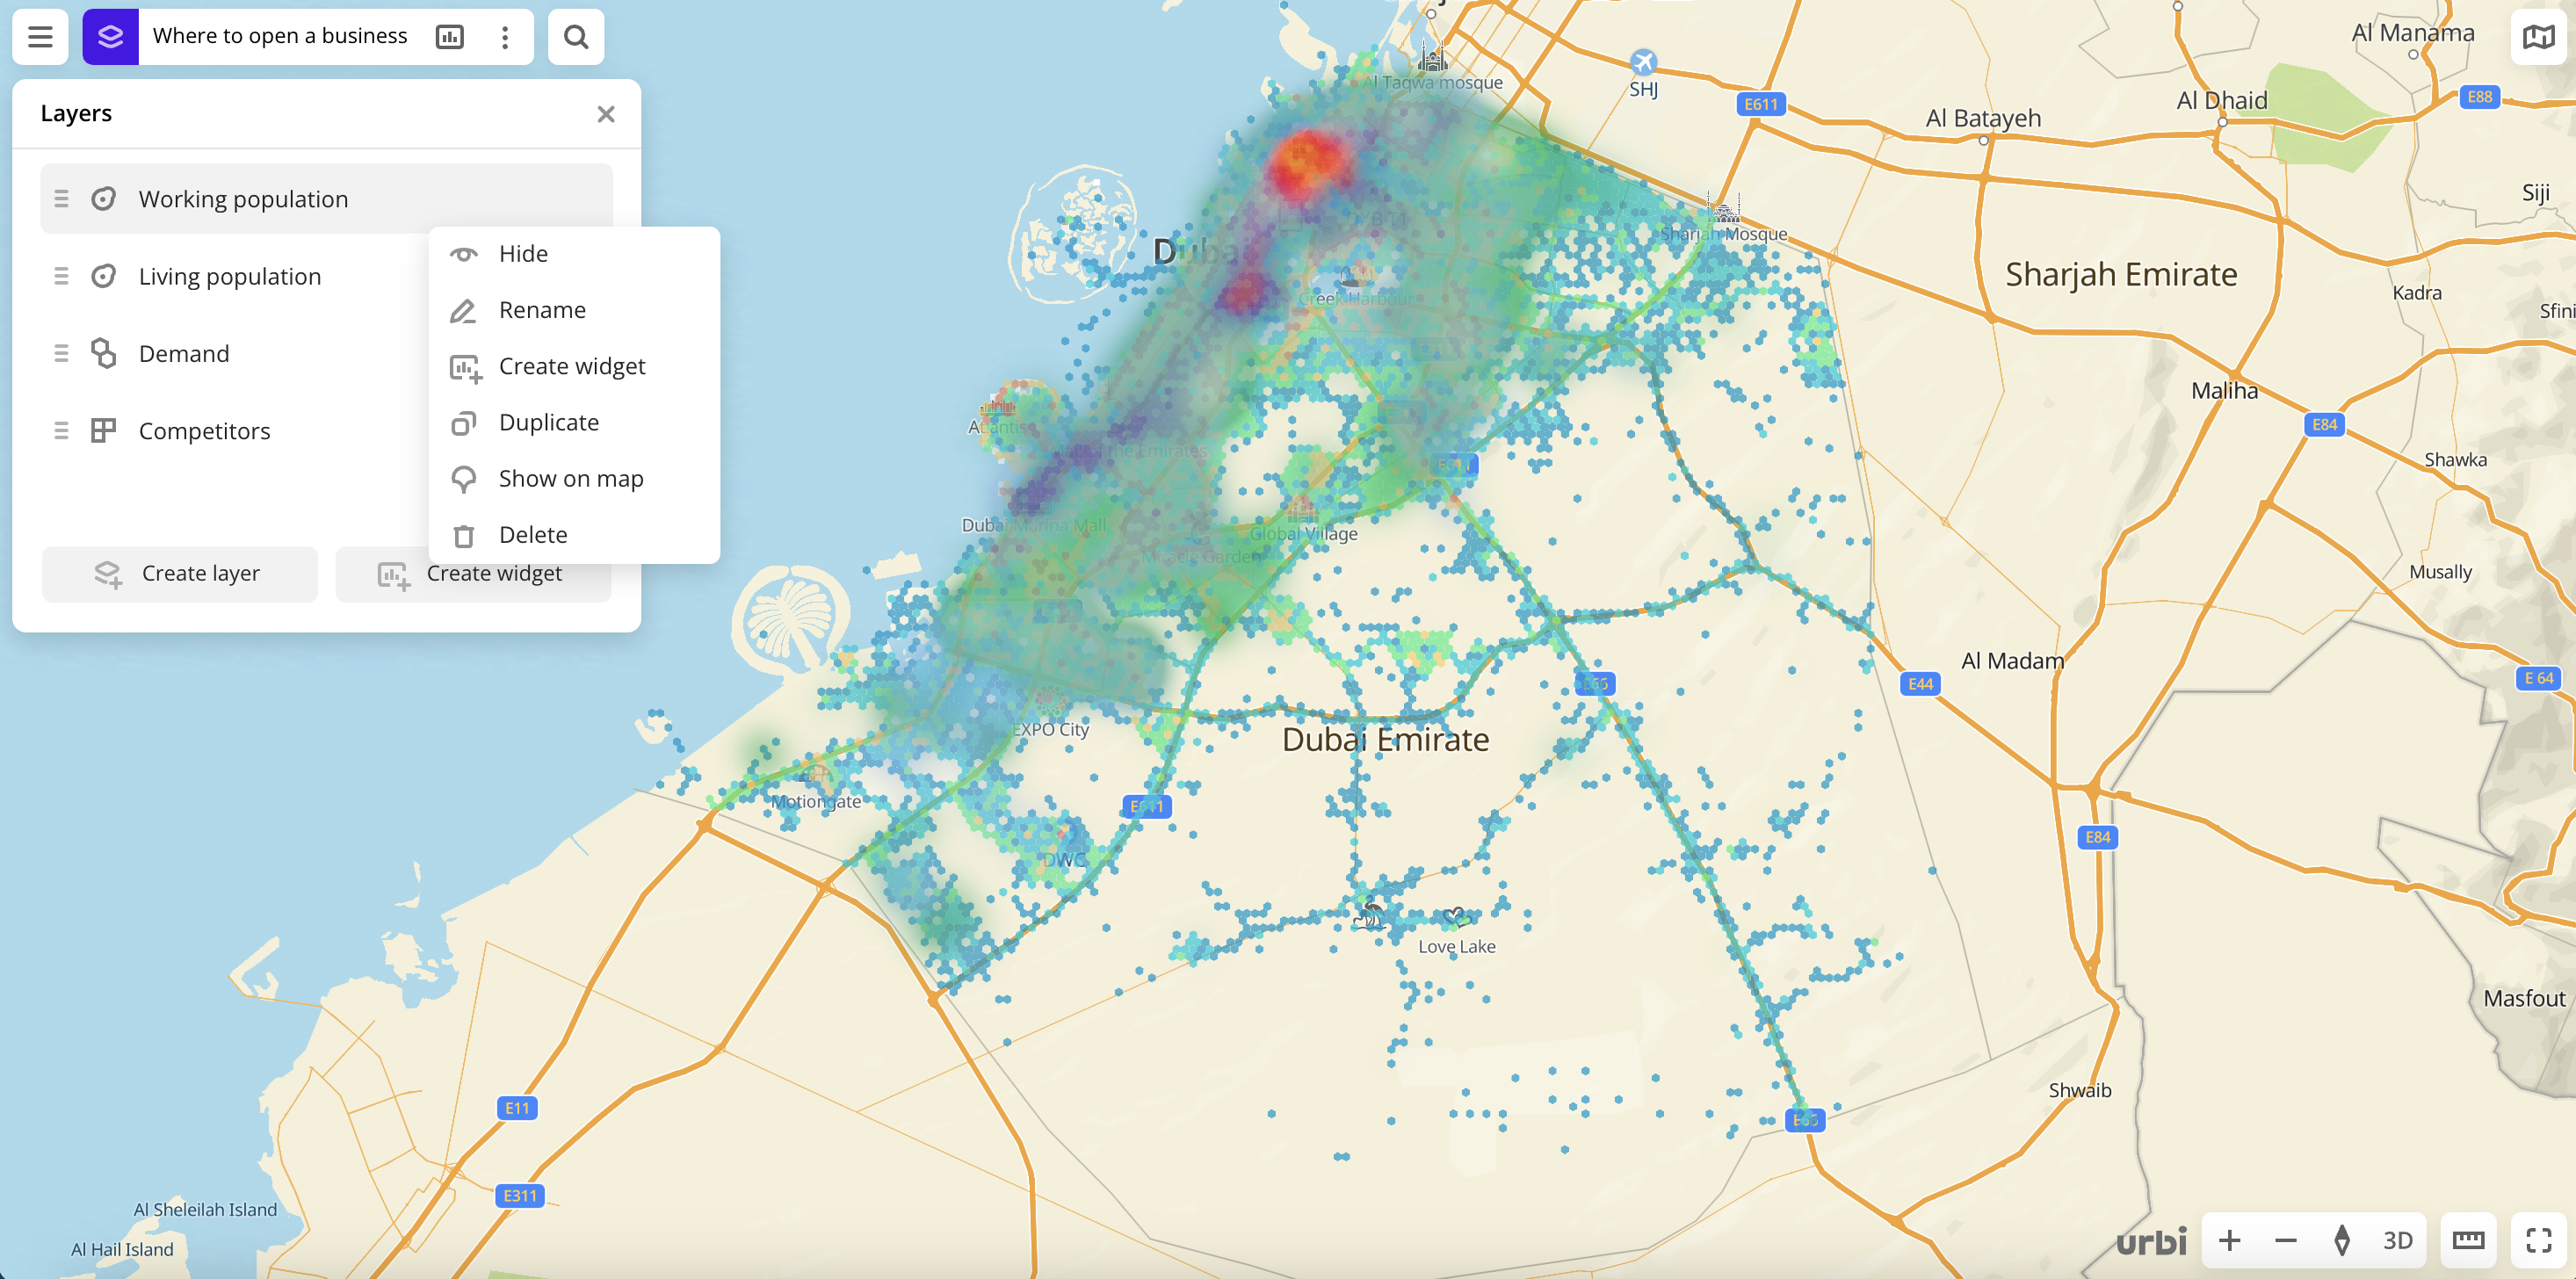
Hiding layers from the scene
-
To open the list of layers, in the top menu of the dashboard, click
 icon.
icon. -
Hide the layer on the scene in one of the following ways:
- Click
 icon next to the required layer.
 - Click icon next to the required layer and select Hide.
- Click
-
To hide all the layers of the scene, click
icon in the Layers dialog:
Showing layers on the scene
If layers were previously hidden, you can enable their display on the scene:
-
To open the list of layers, in the top menu of the dashboard, click
icon. -
Enable the layer display on the scene in one of the following ways:
- Click
 icon next to the required layer.
 - Click icon next to the required layer and select Show.
- Click
-
To show all the layers of the scene, click
icon in the Layers dialog:
Renaming a layer
-
To open the list of layers, in the top menu of the dashboard, click
icon. -
Rename the layer in one of the following ways:
- Double-click the required layer.
- Click icon next to the required layer and select Rename.
-
Enter a new name of the layer and press Enter.
Duplicating a layer within a scene
When you duplicate a layer, a copy is created in the same dashboard scene.
- To open the list of layers, in the top menu of the dashboard, click icon.
- Click icon next to the required layer and select Duplicate.
Copying a layer to another scene
When you copy a layer, the copy is created in another selected scene of the same dashboard. The data visualization settings in the layer remain unchanged.
- To open the list of layers, in the top menu of the dashboard, click icon.
- Click icon next to the required layer and select Copy to scene.
- Select the required scene.
- Click Copy.
Reordering layers
The display of layers on the scene depends on their order in the list: a layer that is higher in the layer list overlaps the content of the layer below it. For example, to avoid overlapping organization icons on the map, place the layer with the Point visualization above the layer with the Heatmap visualization.
- To open the list of layers, in the top menu of the dashboard, click icon.
- Drag the layer to the necessary place in the list.
Creating a widget from a layer
- To open the list of layers, in the top menu of the dashboard, click icon.
- Click icon next to the required layer and select Create widget.
- Select the widget type and set its parameters. For a list and description of the parameters, see the instructions for each widget, e.g., Bar chart.
Deleting a layer
When you delete a layer, all widgets created based on it are also deleted.
- To open the list of layers, in the top menu of the dashboard, click icon.
- Click icon next to the required layer and select Delete.
- To confirm deleting, click Delete.
What's next?
- Quick start.
- Get to know how to work with Data and Data visualization.
- Get to know more about Dashboards, Scenes, and Widgets.
- Get to know prepared Analytics presets.