Filling a polygon with a texture
To customize a style layer of the polygon type, in addition to color and outline parameters, you can set a texture pattern that will be seamlessly applied to the polygon. The texture is set using an SVG image: you can add your own icon or, for example, use an existing one from the style.
It is important to note that to enable stretching the texture independently in width and height, some browsers (such as Firefox) require the SVG image to have the preserveAspectRatio attribute with none value.
⚠️ Filling a polygin with a texture is currently available in the Style editor only.
Using an existing icon from the style
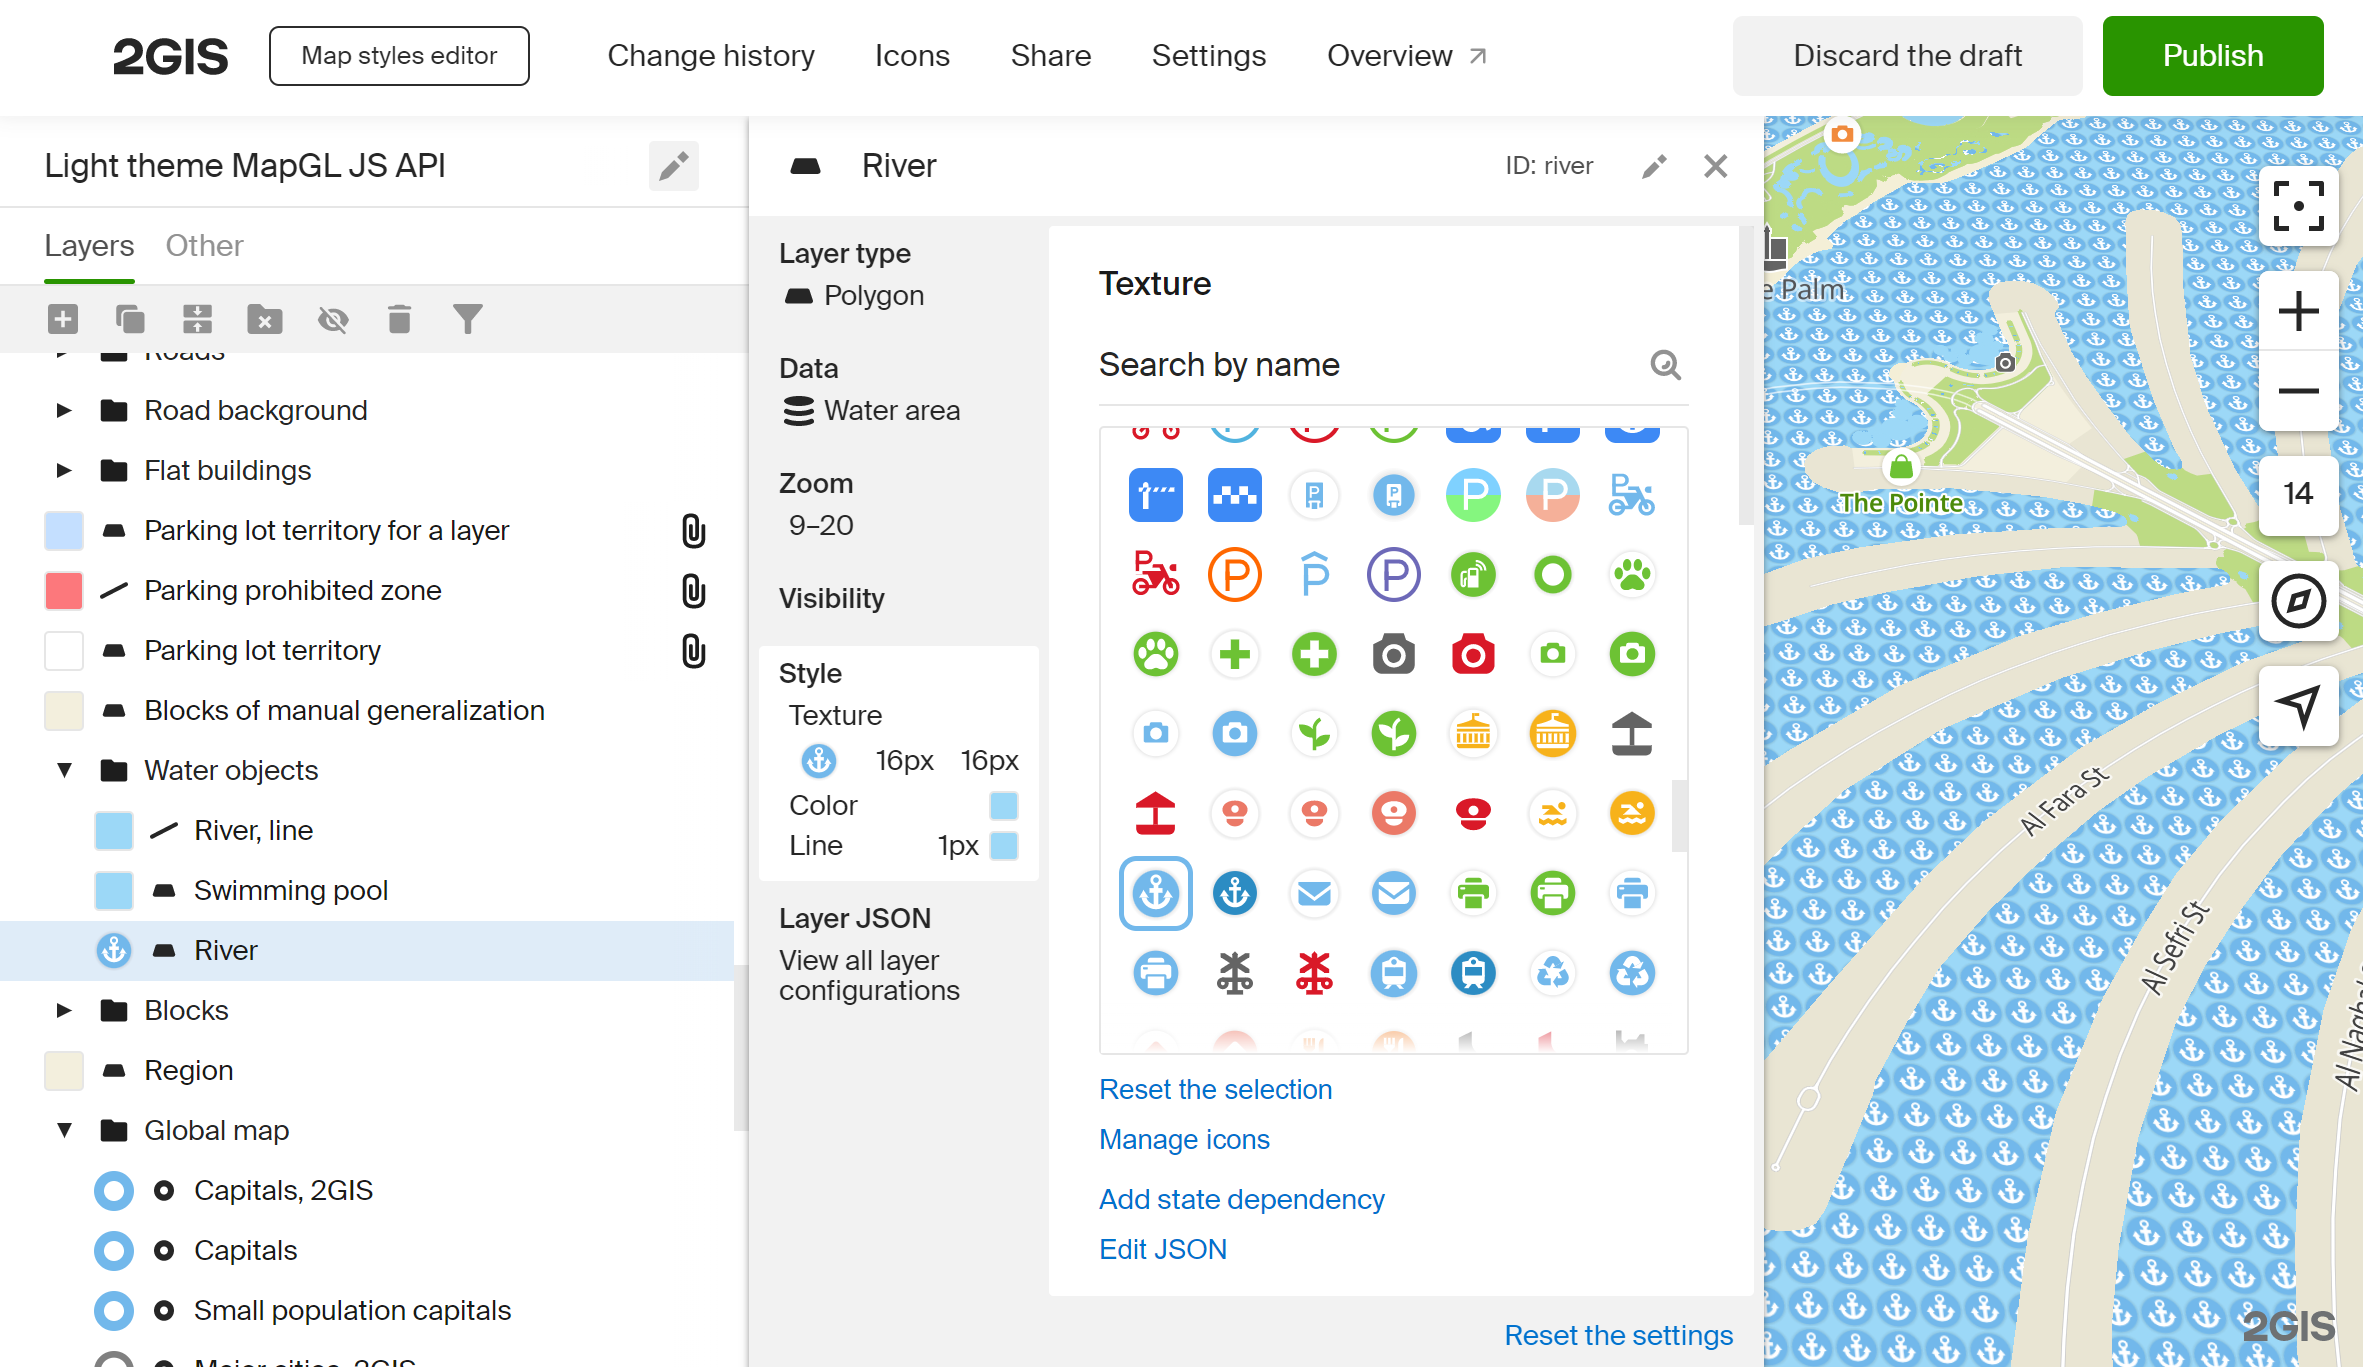
On the map, choose an existing polygon that you want to fill with a texture (in this case, a style layer called River). On the Style tab, select any existing icon.
If necessary, you can change the size of the texture pattern cell in the Width and Height fields in the Texture size section, and set its transparency in the Texture opacity section.
Adding a custom texture to the polygon
The process of filling a polygon with your custom texture is similar to applying an existing icon described above.
-
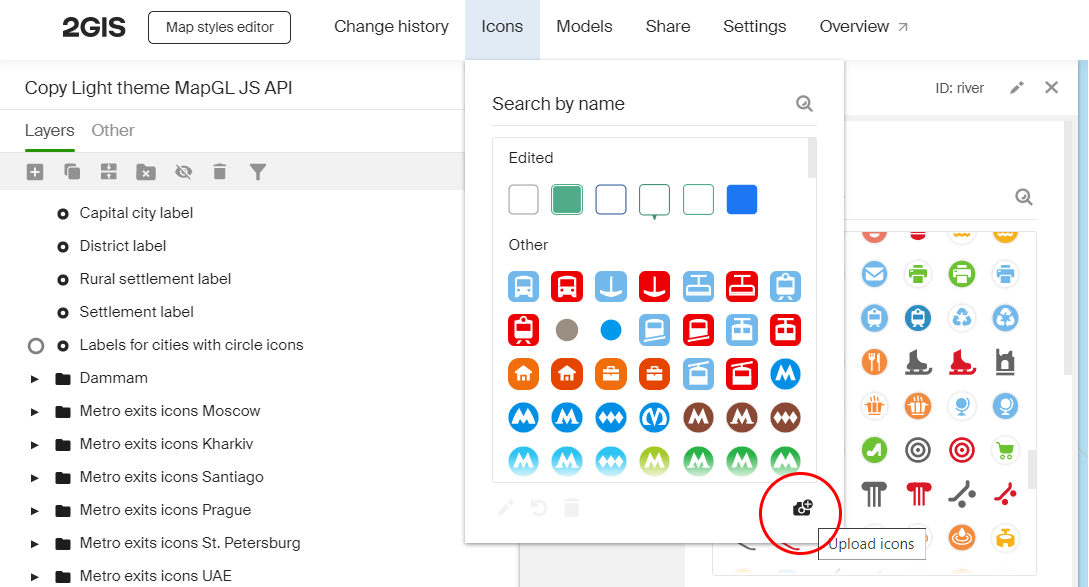
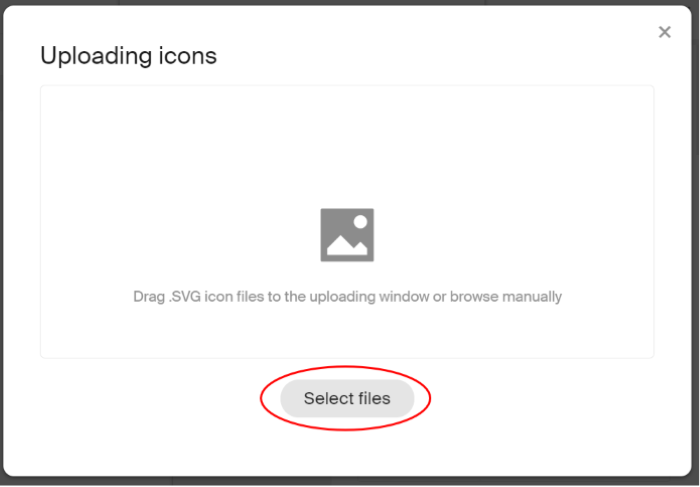
Add the texture (icon) to the style in the Icons menu -> Upload icons -> Select files:
-
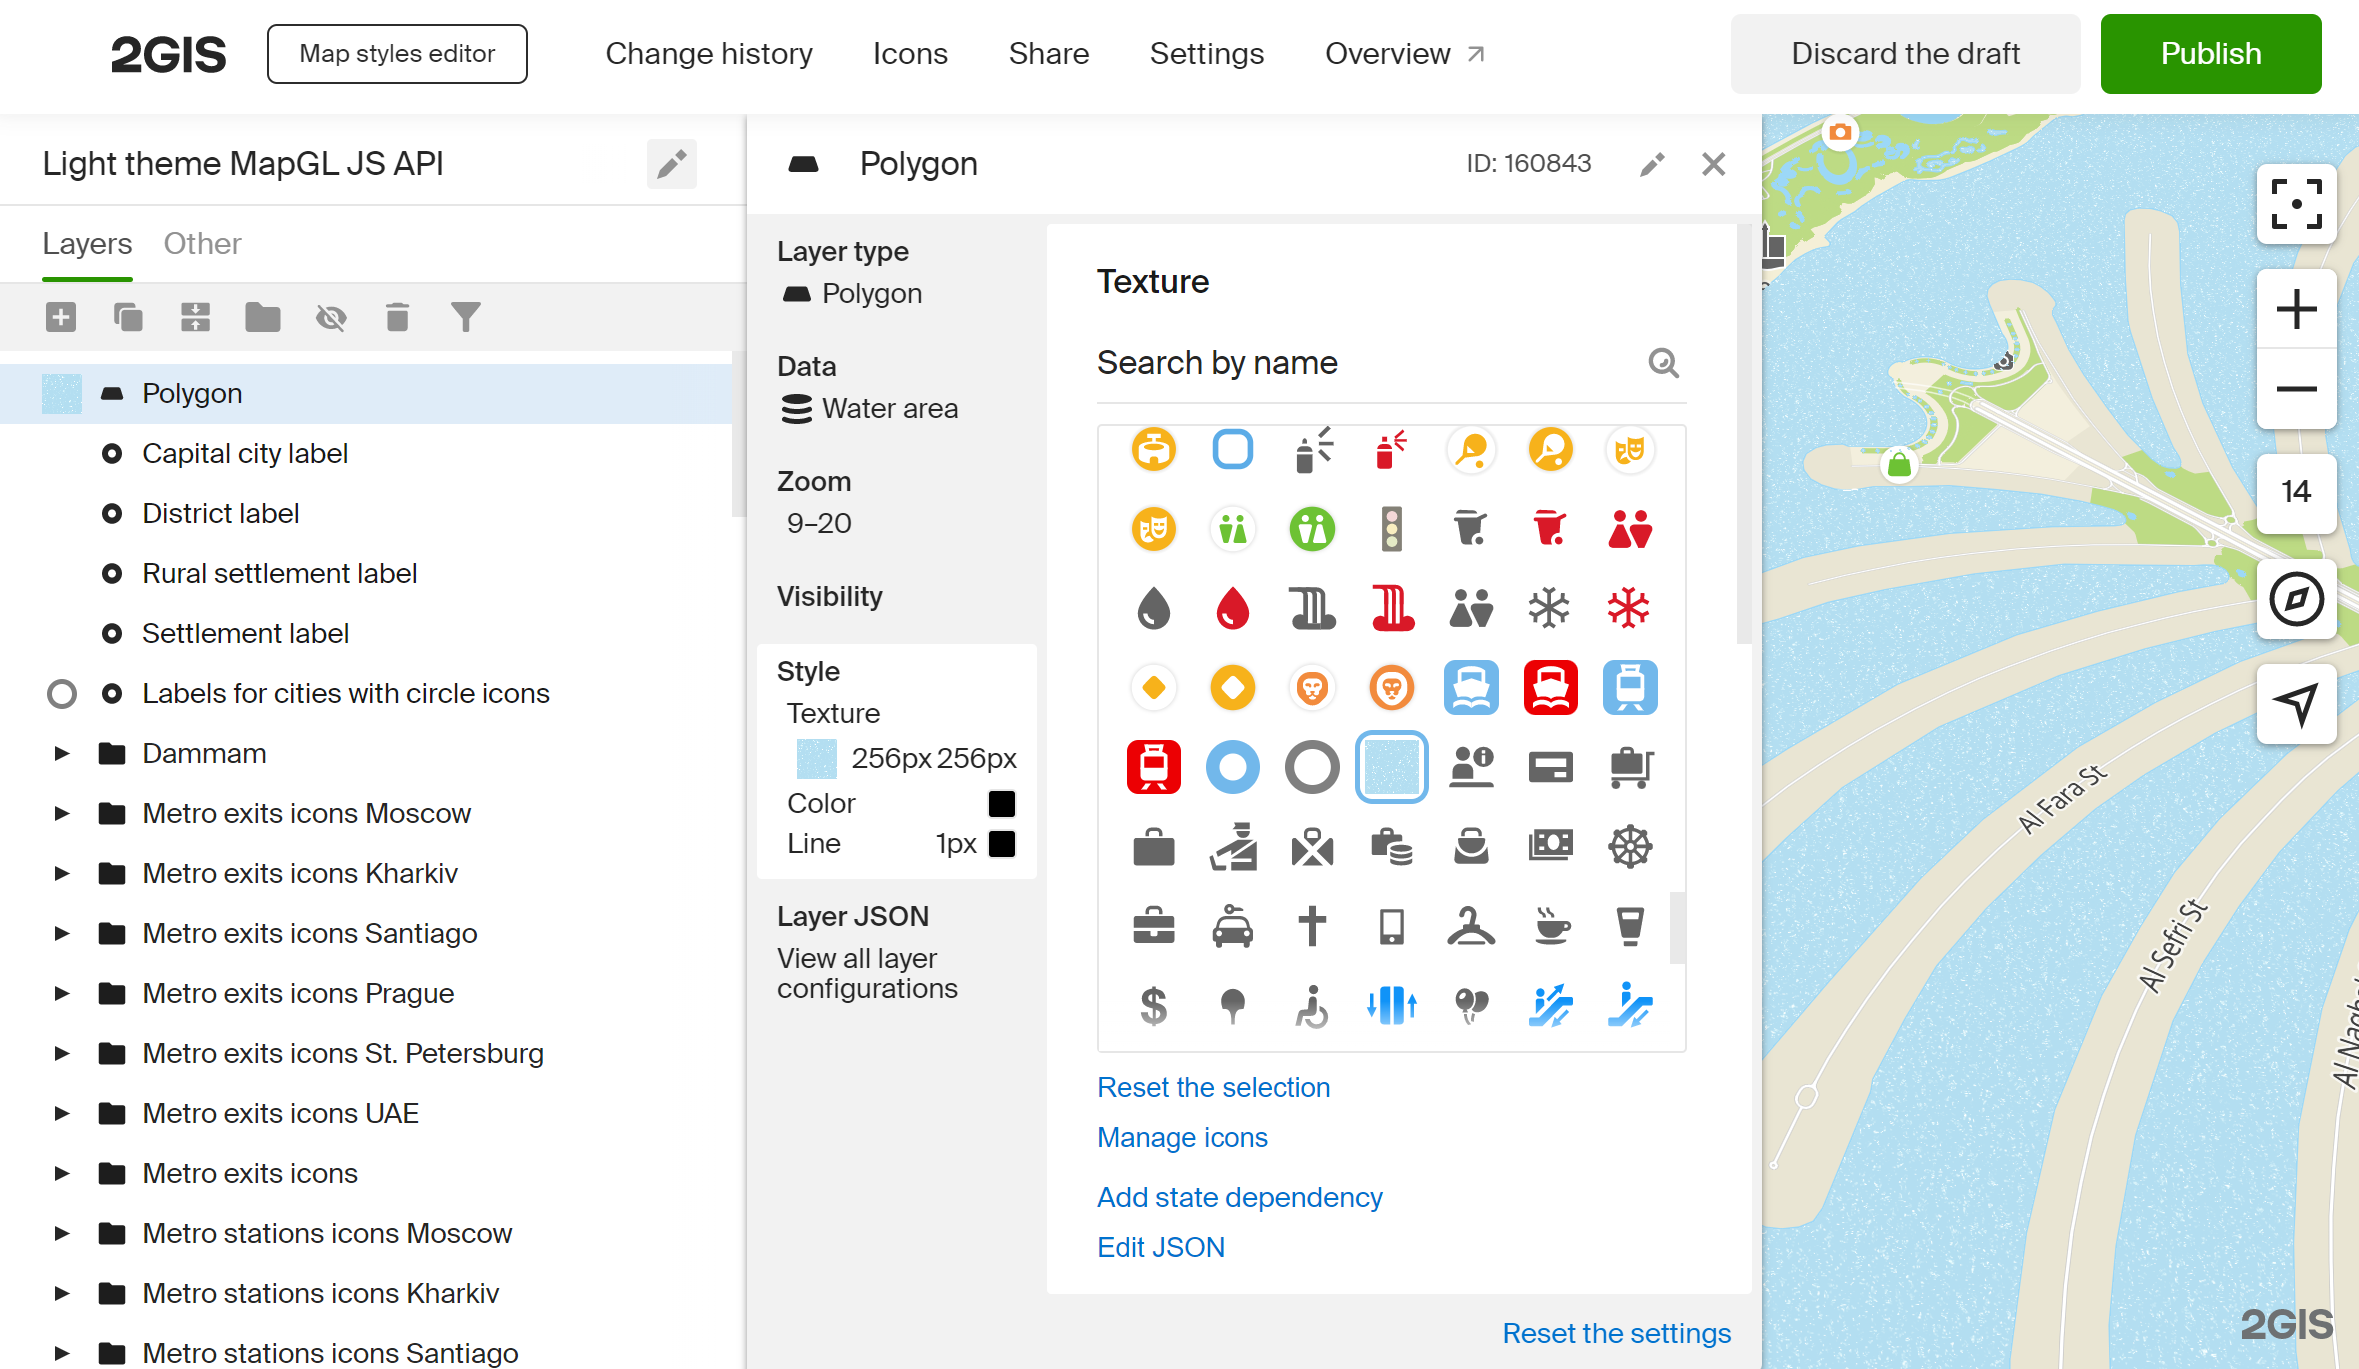
Create a new style layer with the
polygontype and select Water area data for it: Create new layer -> Data -> Water area.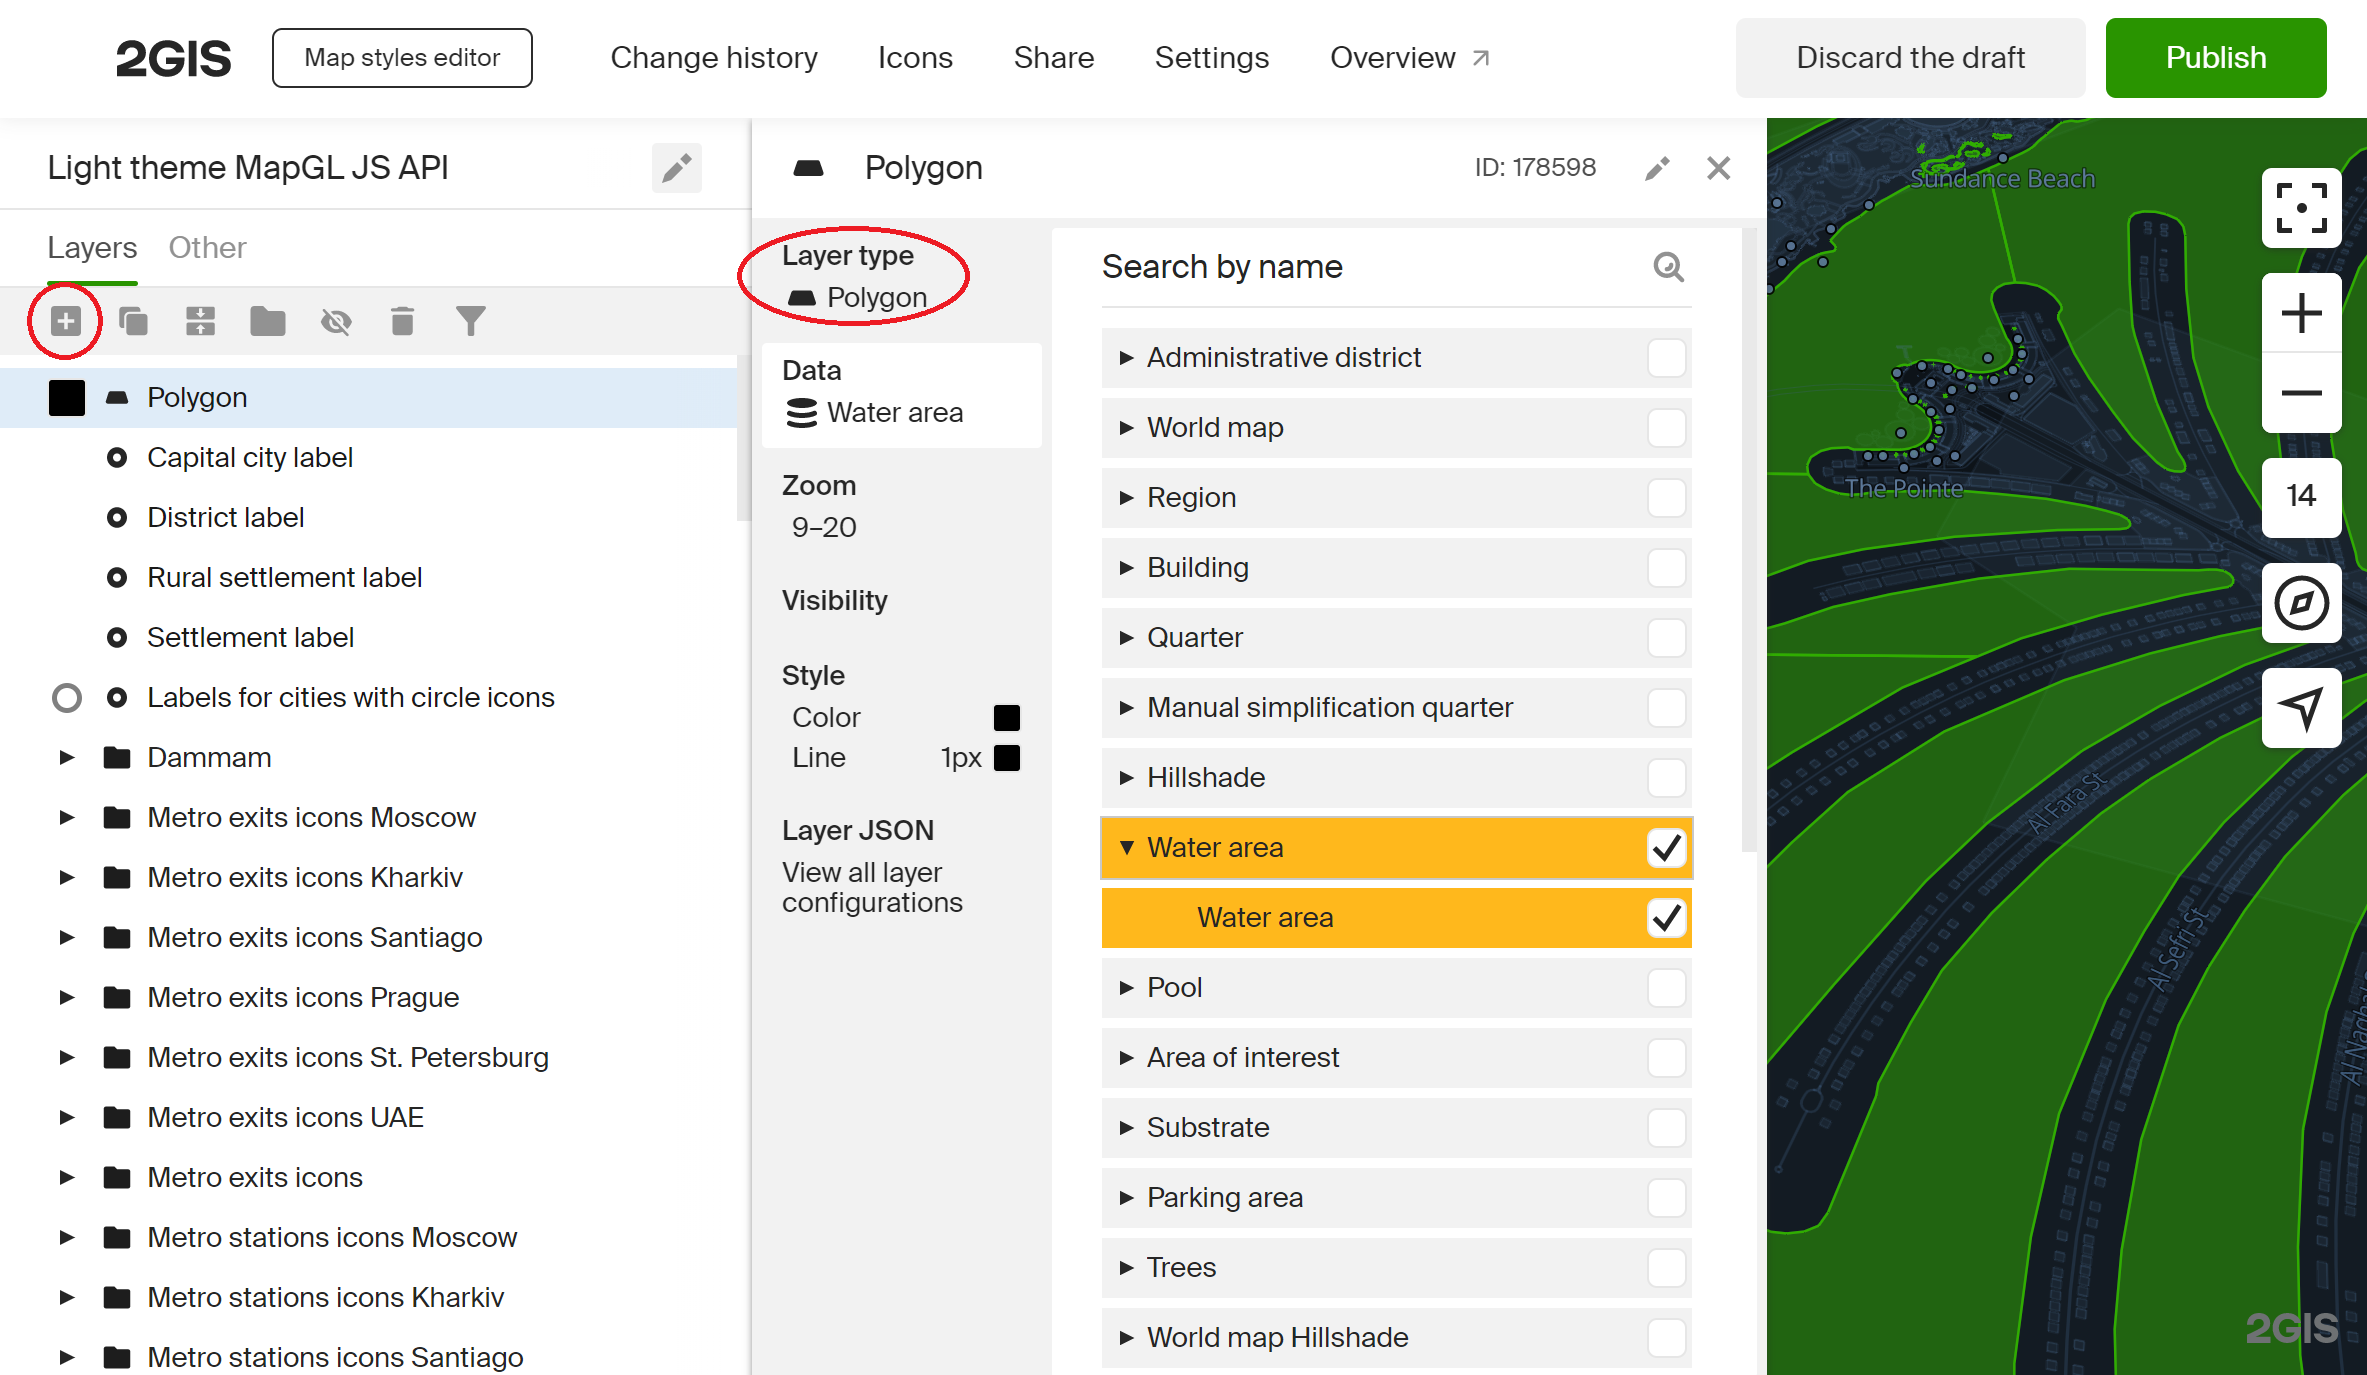
-
Select the added texture and increase the size of its pattern cell to 256x256 pixels for a better visual effect.