Creating access keys
Create a free demo key or a production key within your subscription to work with the Urbi APIs.
Creating a demo key
A free demo key is created only once and is valid for one month from the date of creation. Each service has a limit of 1000 requests.
- Sign in to the Platform Manager.
- On the API Keys tab, select Create a Demo Key.
- Enter the key name and click Create.
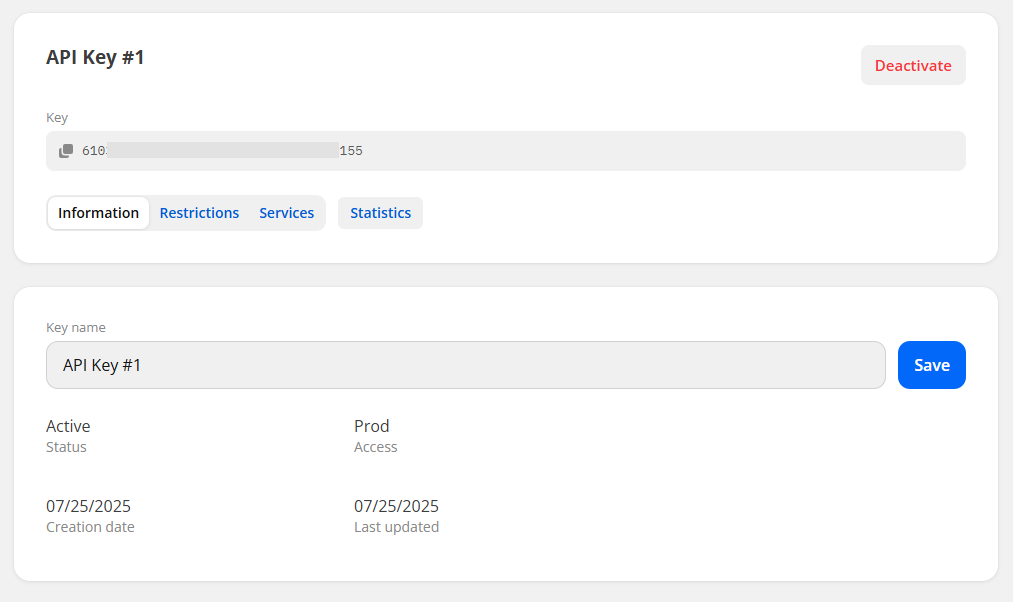
You can rename the key, configure restrictions, and view request statistics and limits usage.
After creating the key, you can start working with the API using examples in the documentation, such as Places API request examples.
Creating an API key
If this is your first subscription, the first API key is created automatically. To create a new key:
- Contact the manager to purchase subscription.
- On the API Keys tab, select Create API Key.
- Enter the key name and click Create.
You can use the created API key to work with all services included in the subscription.
After creating the key, you can start working with the API using examples in the documentation, such as Places API request examples.
Deactivating an API key
Important
A deactivated key cannot be reactivated. Create a new key or contact the manager.
- On the API Keys tab, select the required key.
- Click Deactivate.