Lighting
To make the map look more realistic or emphasize visual features of certain style layers, you can configure unique lighting for objects.
This chapter describes available lighting settings and ways of applying them to map styles. You can configure a ready-to-use lighting mode by following the steps below.
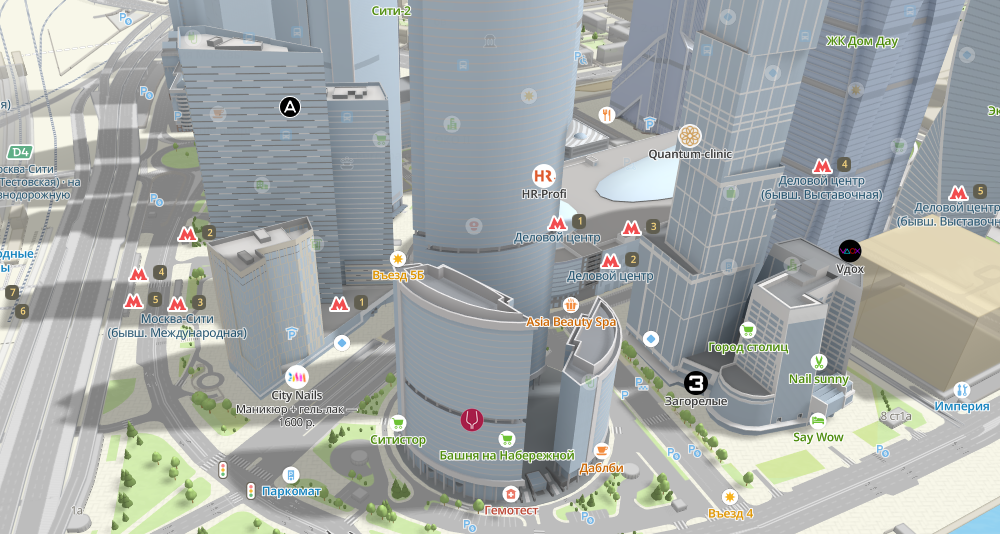
Configuring light
- Open the Style editor.
- Open the Other tab in the left panel and select Light.
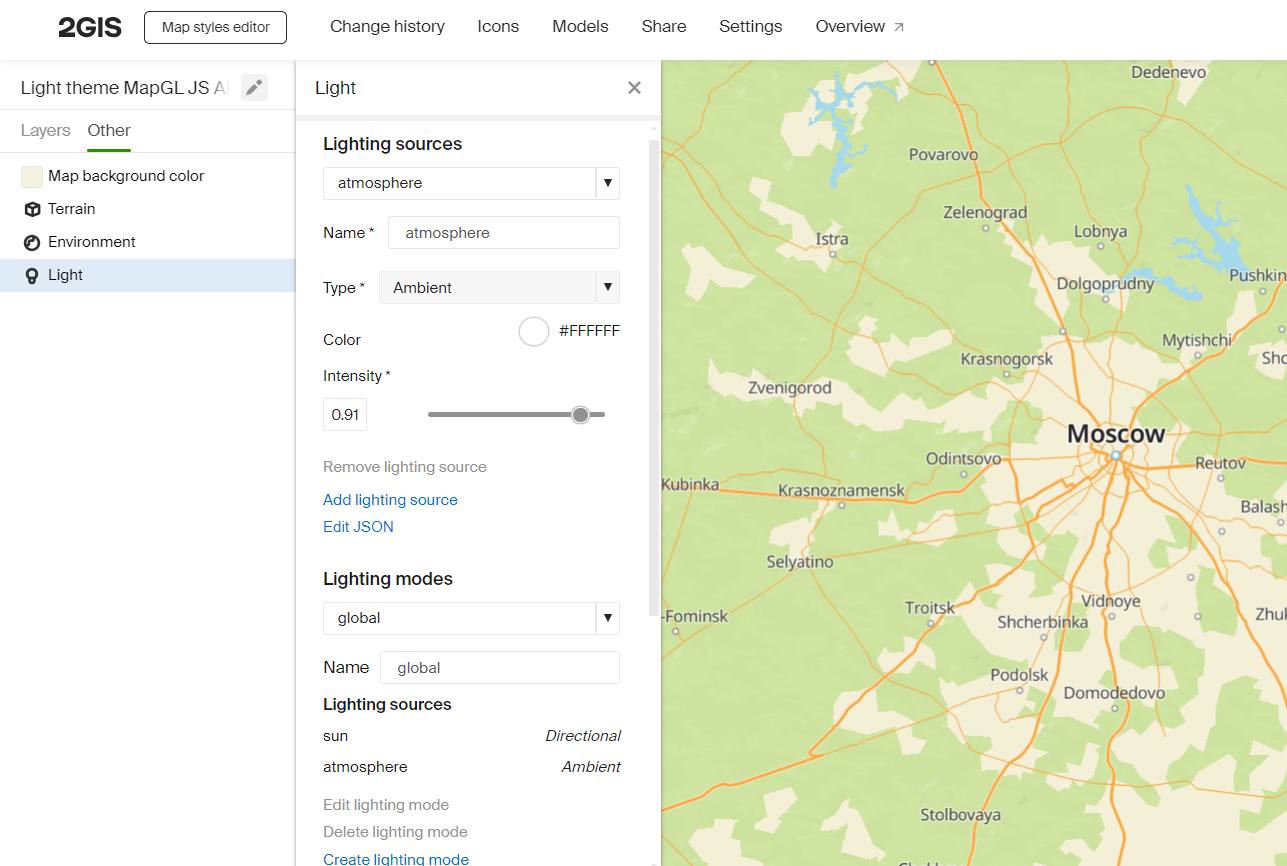
Lighting settings are displayed in the new panel. All parameters are described below.
Lighting sources
You can find all created lighting sources in the drop-down list. The atmosphere, sun , and internal sources are set in the map by default and their type is fixed.
Type is the key characteristics of a lighting source that defines how the source impacts objects. Two values are possible:
- Ambient: imitates diffuse light in the atmosphere that is reflected from various objects.
- Directional: illuminates objects using directional lighting sources (sun or moon).
Other parameters are described in the table below:
| Parameter | Supported sources | Description |
|---|---|---|
| Color | Directional / Ambient | Color of the object lighting |
| Intensity | Directional / Ambient | Brightness of the lighting |
| Altitude | Directional | Altitude of the object above the horizon |
| Azimuth | Directional | Cardinal direction that the source faces |
For reference: Horizontal coordinate system.
To create a new lighting source, select Add lighting source.
For example, to configure evening lighting, add two new sources:
-
Directional source
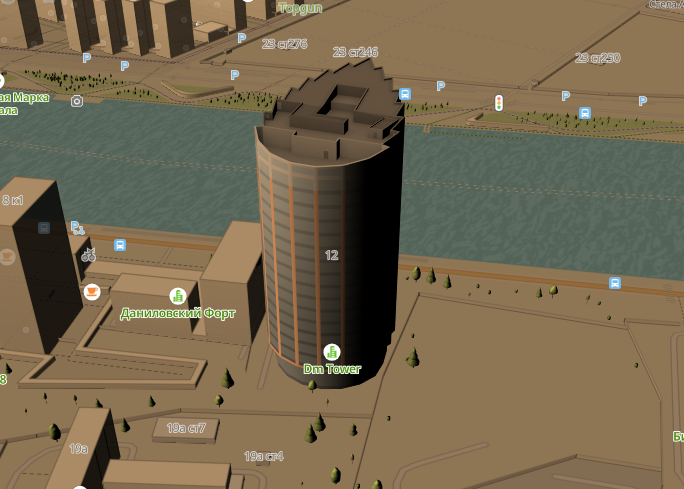
my_dir_lightwith the following parameters:- Type: Directional
- Color:
#FFD3A2 - Intensity: 1
- Altitude: 35
- Azimuth: 320
If you use only this lighting source, you get the following result:
-
Ambient source
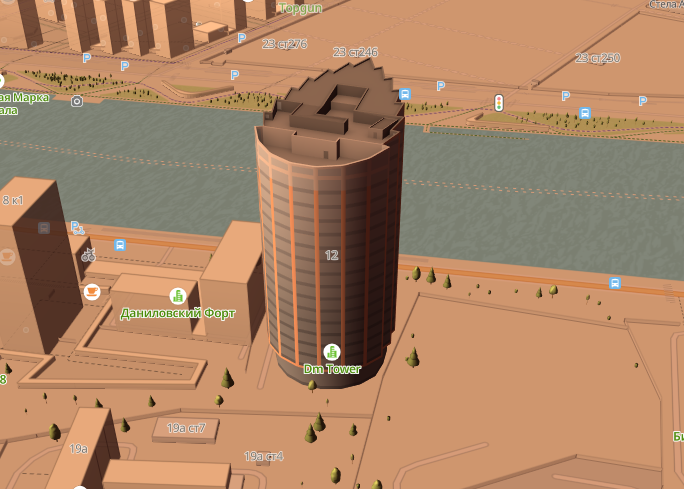
my_ambient_lightwith the following parameters:- Type: Ambient
- Color:
#AA5645 - Intensity: 0.4
Combination of these sources looks as follows:
The created lighting sources are added to the sources list as the Custom subcategory. You can open them there to edit parameters later.
Shadows
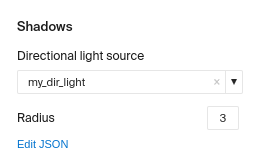
In this section you can specify the directional lighting source that will make objects cast shadows. Only one source can create shadows. If no source is specified, no shadows appear.
The Radius parameter defines the level of shadow outline smoothness.
Select the created my_dir_light source and set the Radius parameter to the maximum value: 3.
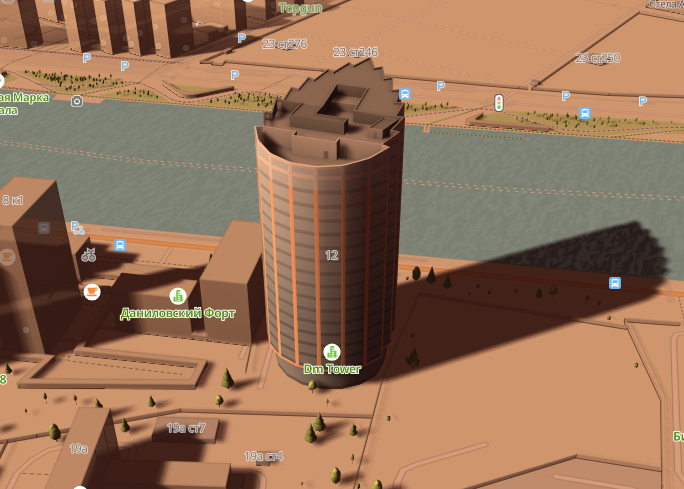
The final result with two lighting sources and shadows looks as follows:
Lighting modes
In this section you can configure lighting modes using a set of previously created sources (not more than three). You can later apply these modes when setting up style layer lighting.
To create a lighting mode from lighting sources:
-
Select Create lighting mode.
-
Set a name of the new mode.
-
Specify the lighting sources:
- Ambient light sources:
my_ambient_light - Directional light sources:
my_dir_light
- Ambient light sources:
Now you can use this mode in a style layer to light objects with two created sources.
Default lighting mode
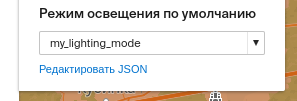
This is an important property that defines which lighting mode is applied to layers if no other mode is configured in style settings.
Select the created my_lighting_mode mode.
Configuring style layers
To set unique lighting (or no lighting at all) for a style layer:
- Select the required layer in the left panel.
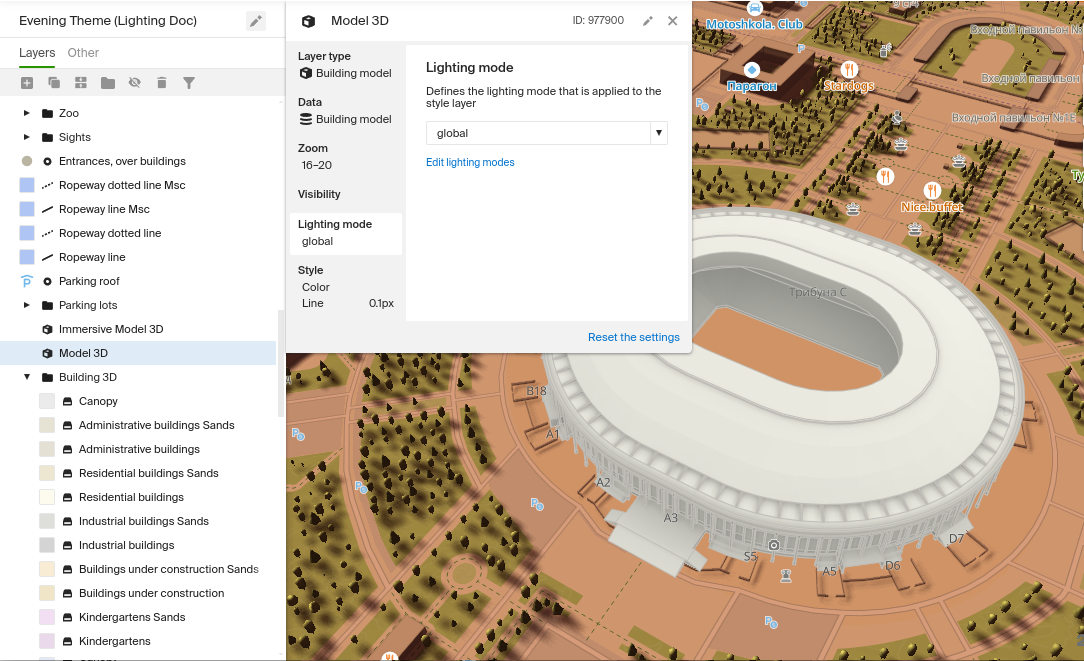
- In the properties panel, open the Lighting mode tab.
- Select a mode from the list.
Example of the Model 3D layer with the global lighting mode:
Final view
You can also check style layer settings in a prepared style. To access the settings, log into the Styles editor and select Create a copy.
<!DOCTYPE html>
<html lang="en">
    <head>
        <meta charset="UTF-8" />
        <meta name="viewport" content="width=device-width, initial-scale=1.0" />
        <title>2GIS Map API</title>
        <meta name="description" content="Lighting in 2GIS Map" />
        <style>
            html,
            body,
            #container {
                margin: 0;
                width: 100%;
                height: 100%;
                overflow: hidden;
            }
        </style>
    </head>
    <body>
        <div id="container"></div>
        <script src="https://mapgl.2gis.com/api/js/v1"></script>
        <script>
            const map = new mapgl.Map('container', {
                center: [37.625688, 55.695277],
                zoom: 17.5,
                rotation: -75,
                pitch: 45,
                key: 'Your API access key',
                style: '4463d414-ceda-4ab7-a9e2-785c5296cae2'
            });
        </script>
    </body>
</html>
Interactive lighting demo
You may inspect the demo app, which allows you to configure lighting interactively.
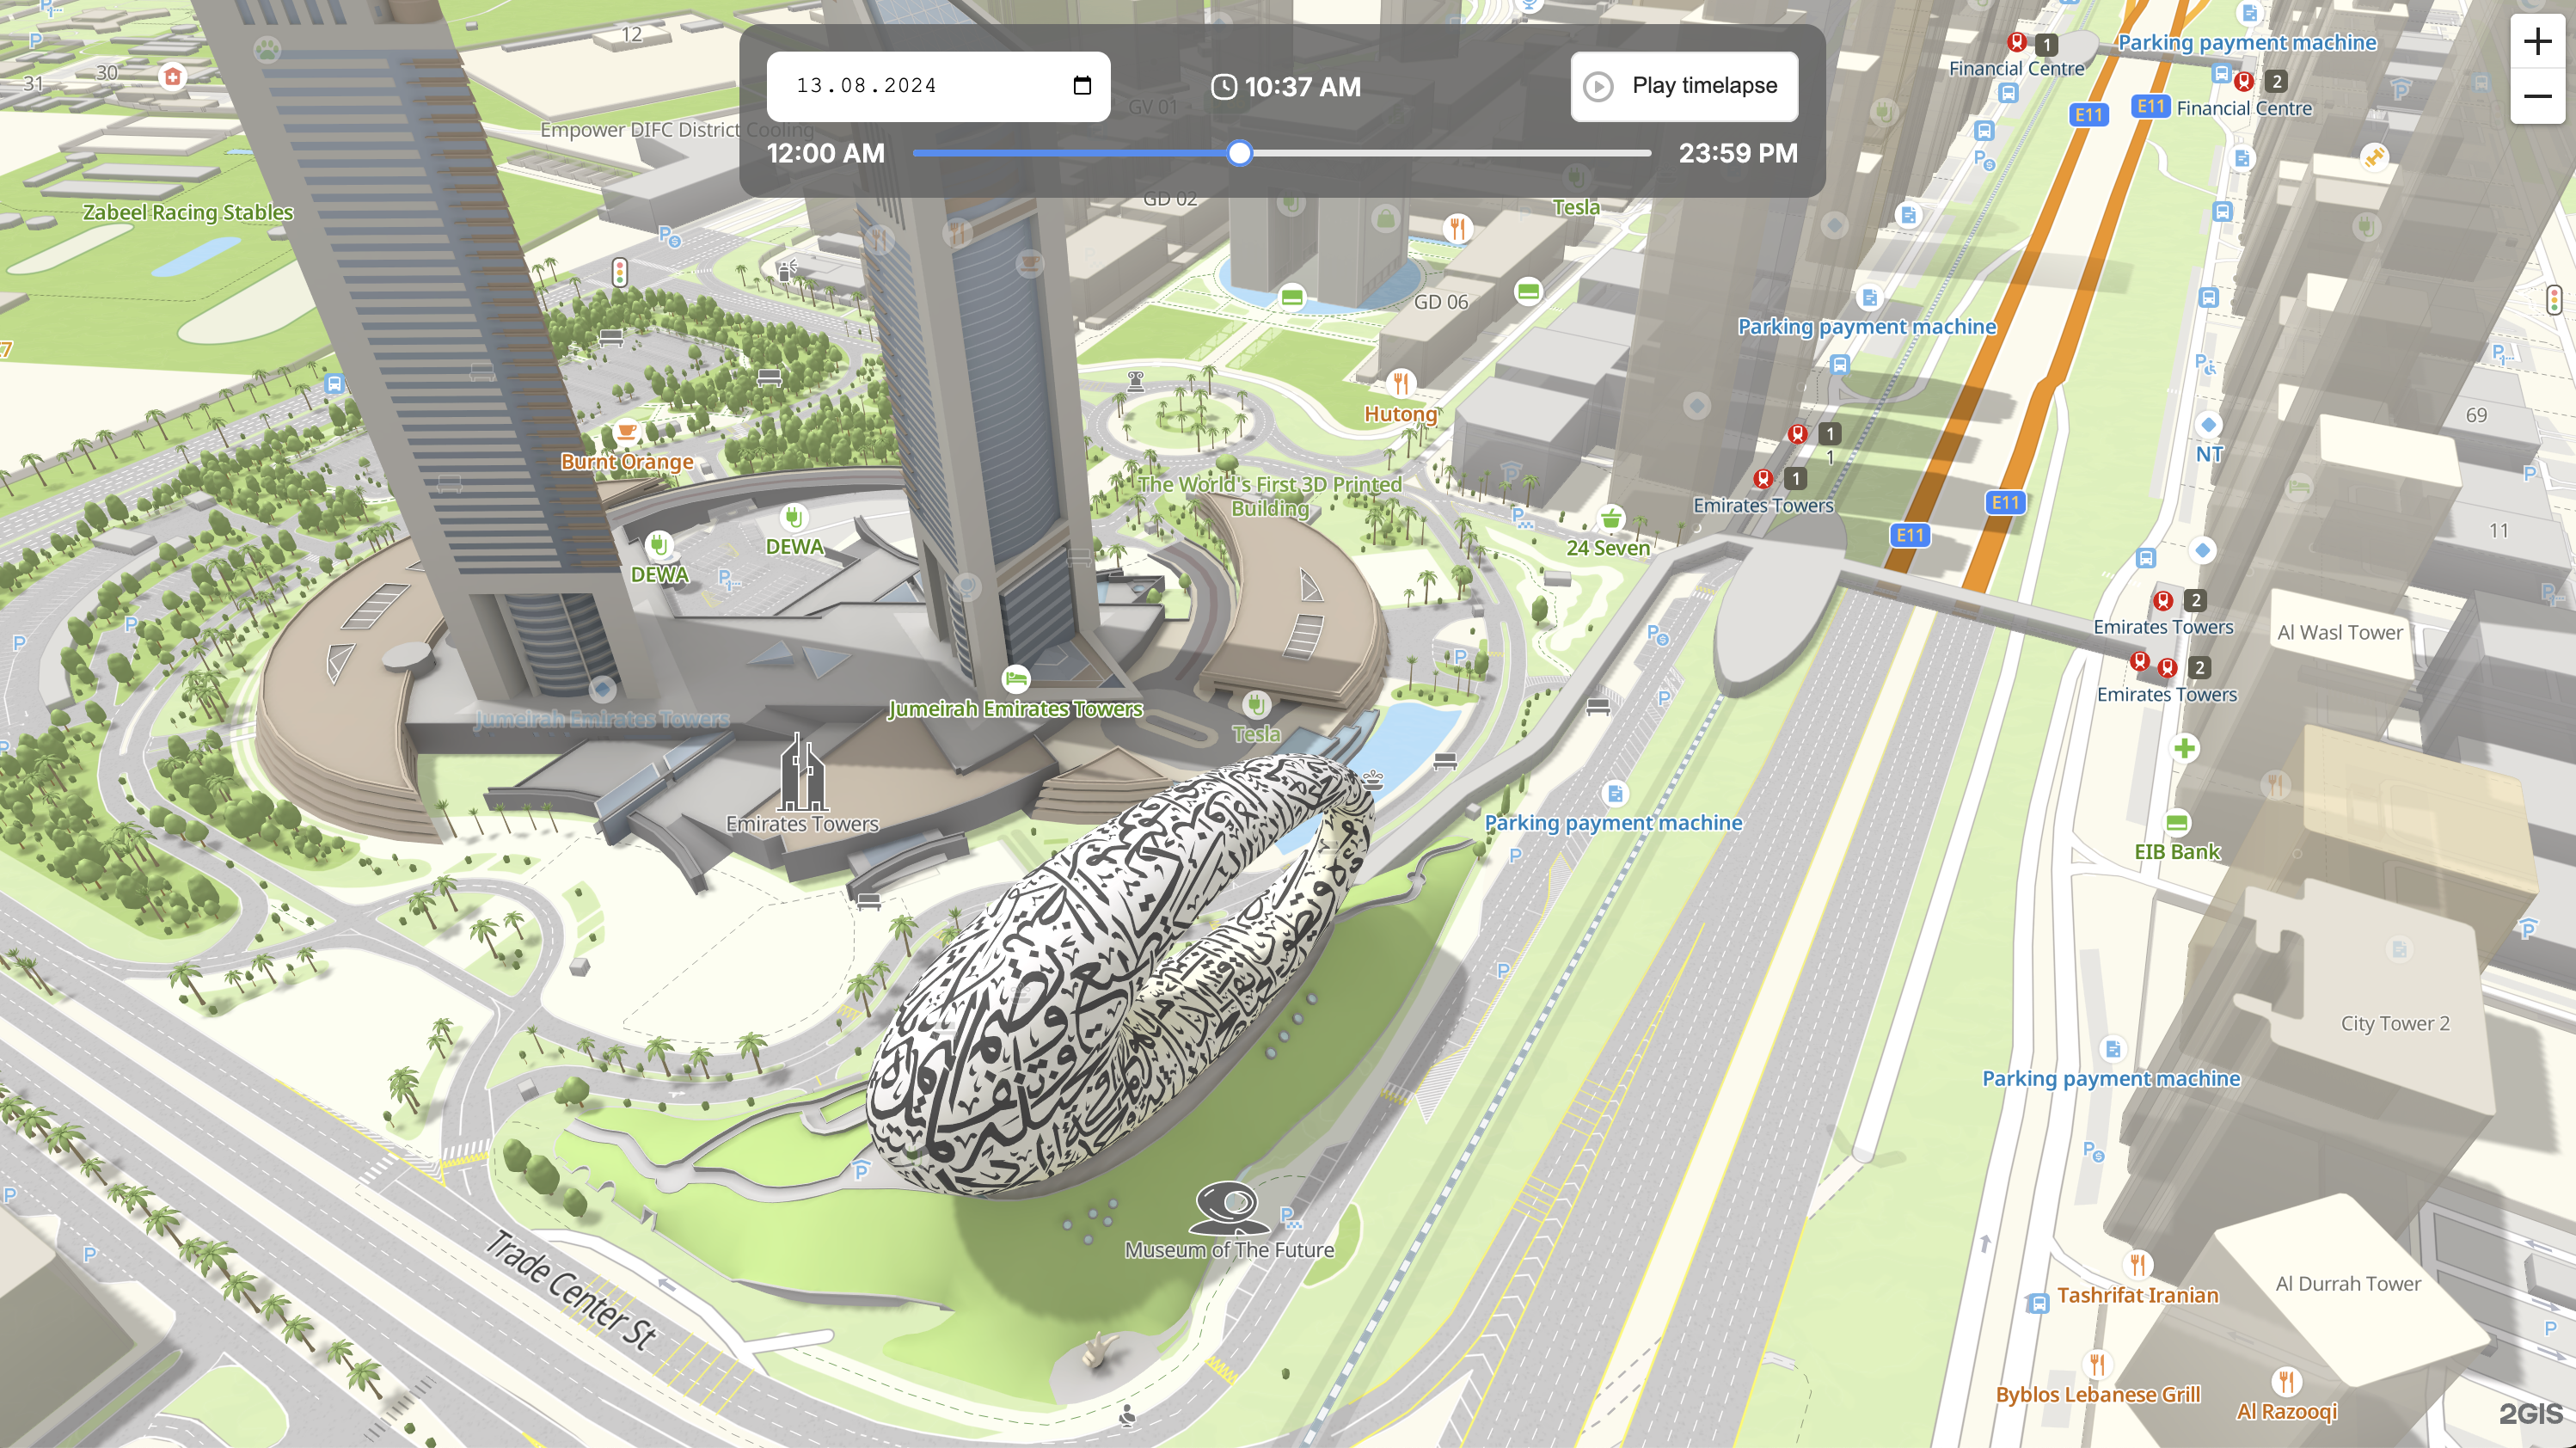
Select the location of interest on the map and set the date and time to see how the lighting changes.