Managing user accounts with Keycloak
This guide describes how to configure user accounts for Urbi products that do not support registration via API. You will learn:
- How to create a user account,
- How to set a password for it,
- How to edit user data,
- How to delete a user account.
All the examples below are provided for Urbi On-Premise products (specifically, Urbi On-Premise Pro).
Keycloak is a tool for user identification. It implements the single sign-on technology, which allows users to navigate between different systems without re-authentication. You can learn more about Keycloak here.
User differentiation by products is provided by a realm, a security configuration that contains all the necessary data for authentication (users, passwords). Each realm is isolated from others, and the users contained within them do not overlap.
The realm has already been created in advance, so its creation is not described in the context of this instruction.
Getting started
Before starting, make sure that the authorization service is installed and working correctly. Then:
-
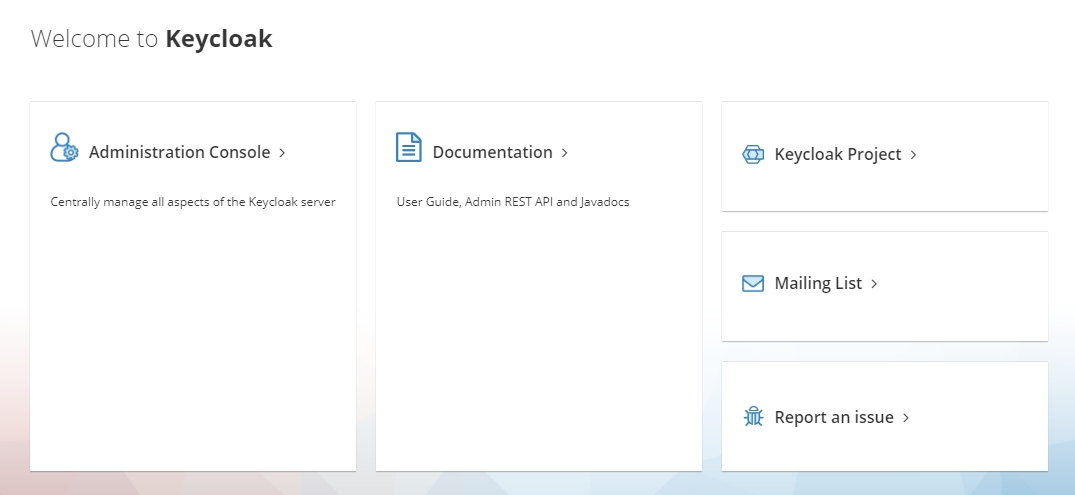
Go to a link of the following format: https://keycloak.example.com (you get it as a result of the service installation).
-
Click Administration Console.
-
Enter your administrator login and password.
-
Click Sign In.

User registration
To register a user:
- Create a user account.
- Set a password to it.
Creating a user account
-
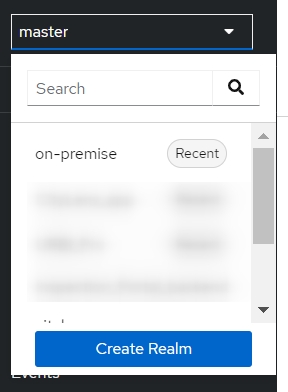
Select the on-premise realm.
-
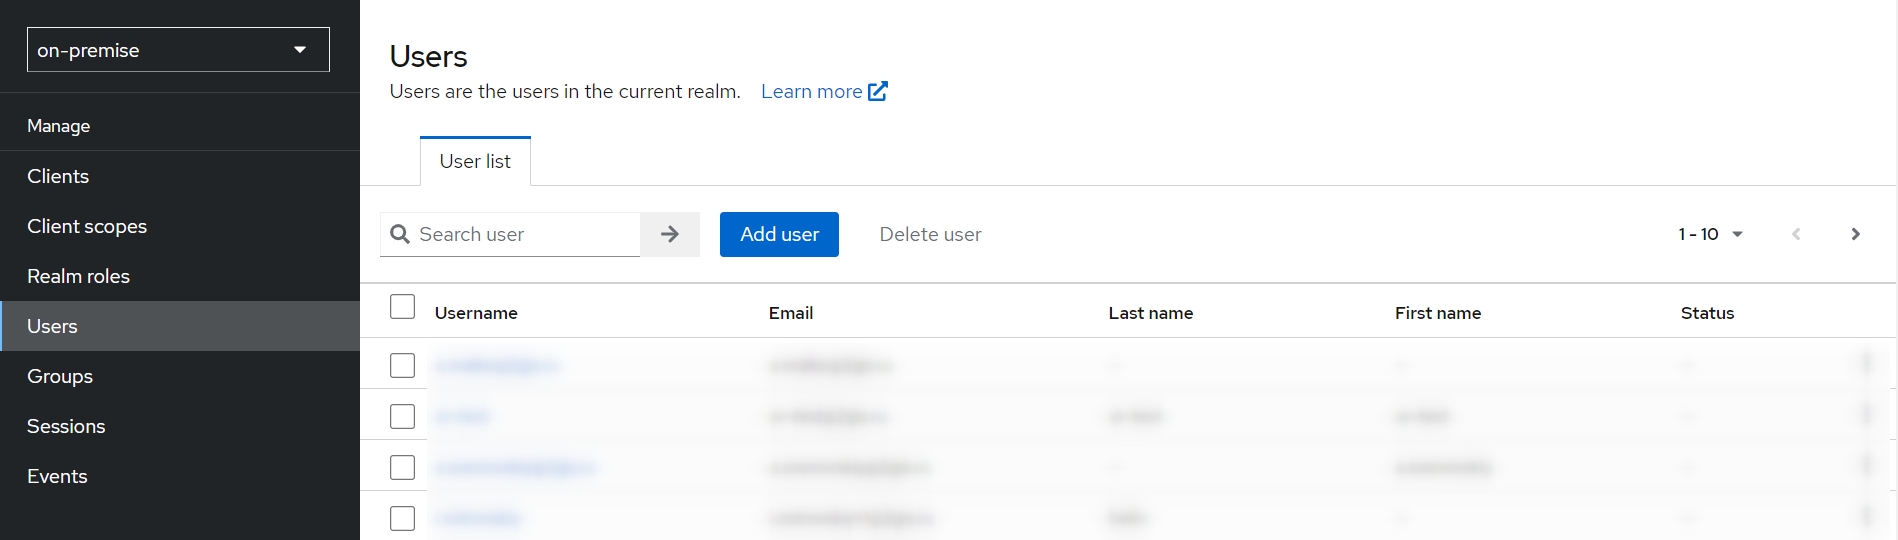
Navigate to the Users menu.
-
Click Add user.
-
Fill in the form:
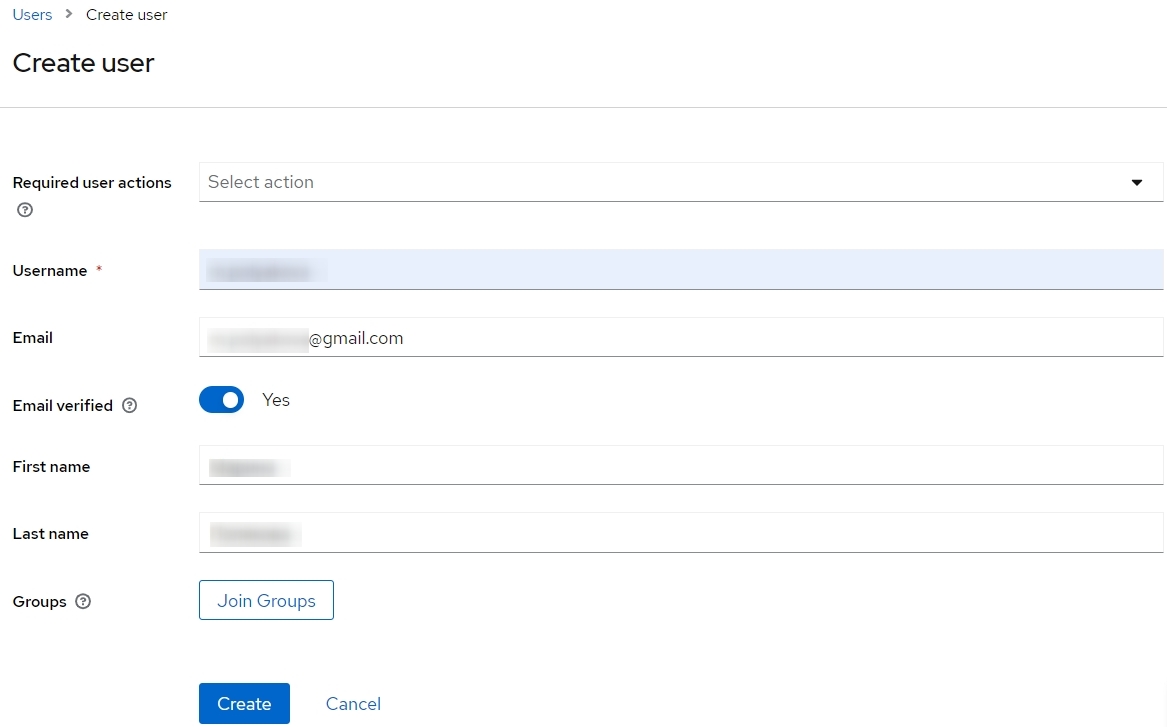
- Username: user's name in the Keycloak system. Obligatory field.
- Email: user's email. This field is not marked as obligatory, however, it should be filled in to provide Keycloak correct functioning.
- Email verified: enable this option to prevent email notifications after each user authentication.
- First Name: user's first name.
- Last Name: user's last name.
-
Complete the user account creation by clicking Create.
Setting a password
Once the user account is created, you are redirected to its profile. To set a password:
-
Go to the Credentials tab.
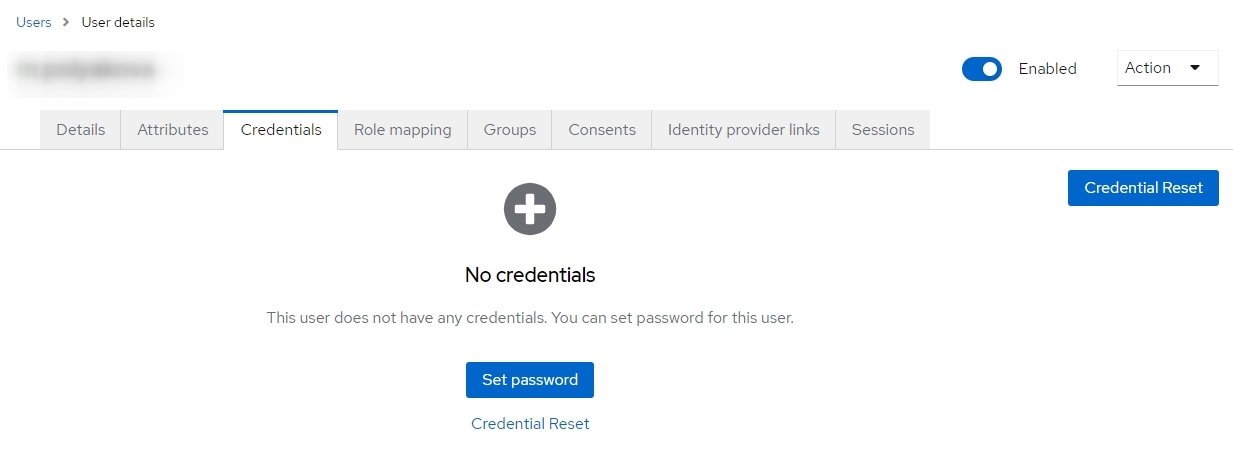
-
Click Set password.
-
Fill in the form:
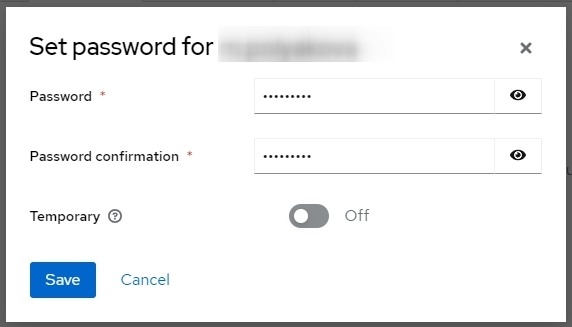
- Password: enter a password.
- Password confirmation: repeat the password.
- Temporary: you can enable this option to set a temporary password. It means that during the initial login, the user is prompted to create a new password to activate their account.
-
Click Save. A confirmation window appears:
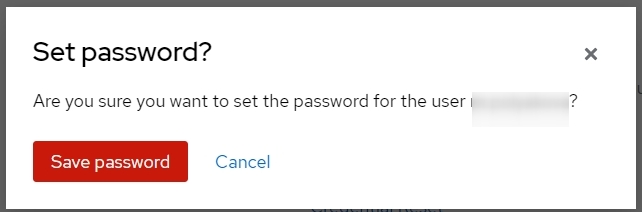
-
Complete the password setup by clicking Save password.
Updating user data
To update user data, proceed to a card of their account:
-
Select the on-premise realm.
-
Go to the Users menu.
-
Select the user account from the list.

Updating basic data (Details tab)
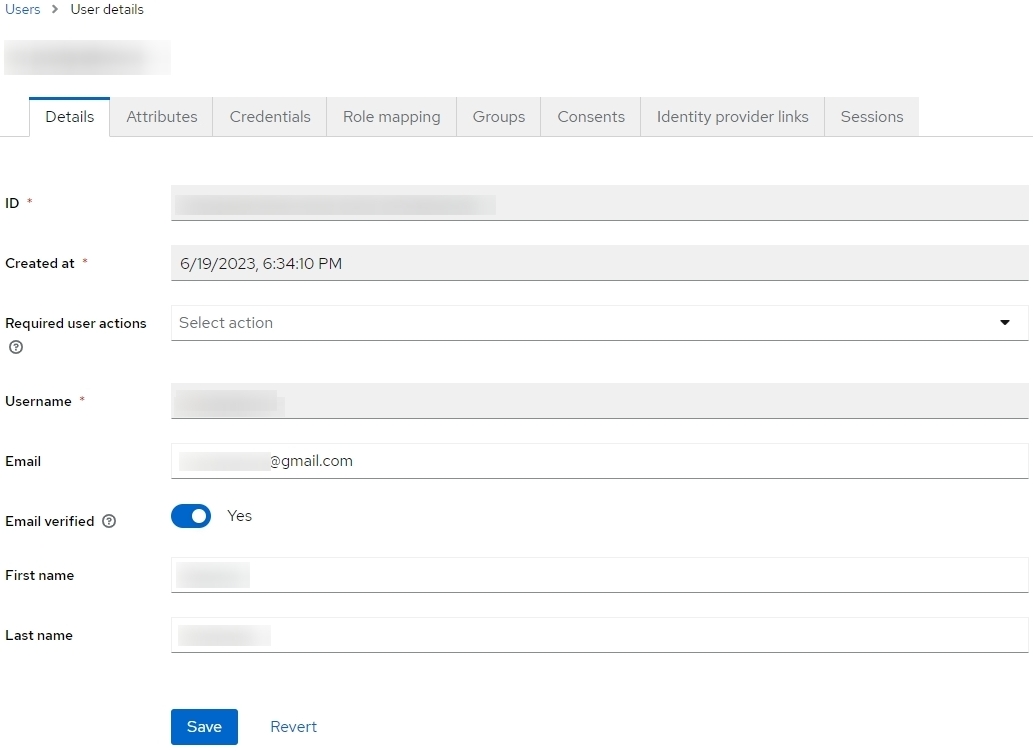
-
Enter new values where necessary. Unchangeable fields are displayed in gray.
- Email: user's email.
- Email verified: indication of verified email.
- First Name: user's first name.
- Last Name: user's last name.
-
Click Save.
Changing the password (Credentials tab)

-
Click Reset password.
-
Fill in the form:
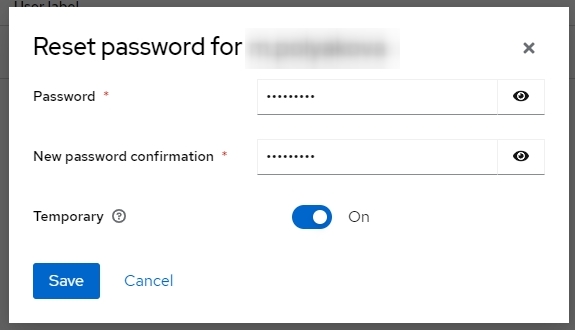
- Password: enter a new password.
- New password confirmation: confirm the new password.
- Temporary: enable this option if you need a temporary password.
-
Click Save. A confirmation dialog will appear:

-
Confirm the password change by clicking Reset password.
Resetting the password (Credentials tab)
-
Click on the
 in the password line.
 -
Click Delete in the password line.
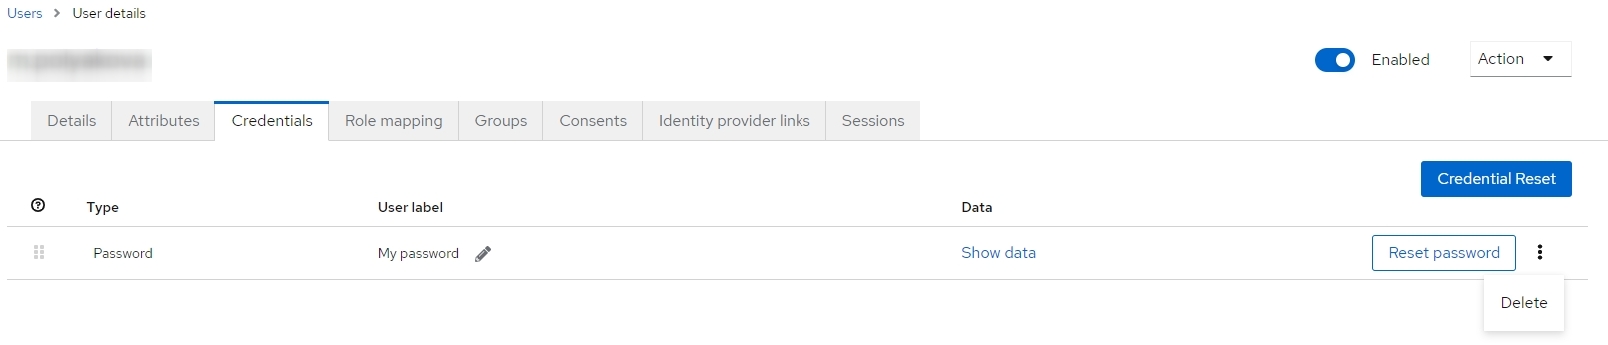
-
Confirm the password reset by clicking on Delete in the appeared confirmation dialog.

Deleting a user
-
Select the on-premise realm.
-
Go to the Users menu.
-
To delete a single user account:
- Click the icon in the line of the appropriate user account.
- Click Delete.
- Click the
-
To delete multiple user accounts:
- Select checkboxes at the lines of the appropriate user accounts.
- Click Delete user.
-
In both cases, a confirmation dialog appears after that:
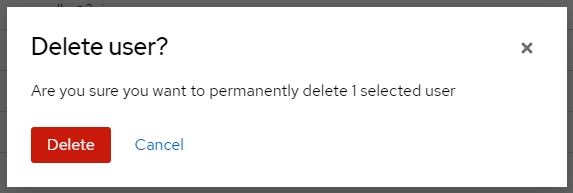
-
Confirm deleting (single or multiple) by clicking Delete.