Tasks
The documentation provides a description of the interface in Russian.
You can create or import tasks for agents, for example, deliver cargo, conduct inspections, etc. A task can be assigned to an agent within a route plan if they have all the required skills to perform the task. The agent can view the list of their tasks for the current route plan in the mobile application.
Before creating or importing tasks, create a task template with a set of attributes. You can create tasks during the process of creating a plan.
With the Main administrator, Company administrator, and Dispatcher roles, you can work with tasks on the Tasks tab:
Creating a task
-
Go to the Tasks tab.
-
Click Add task.
-
Select or create a task template. To create a template, click Add task template: for details, see the Creating a task template section.
-
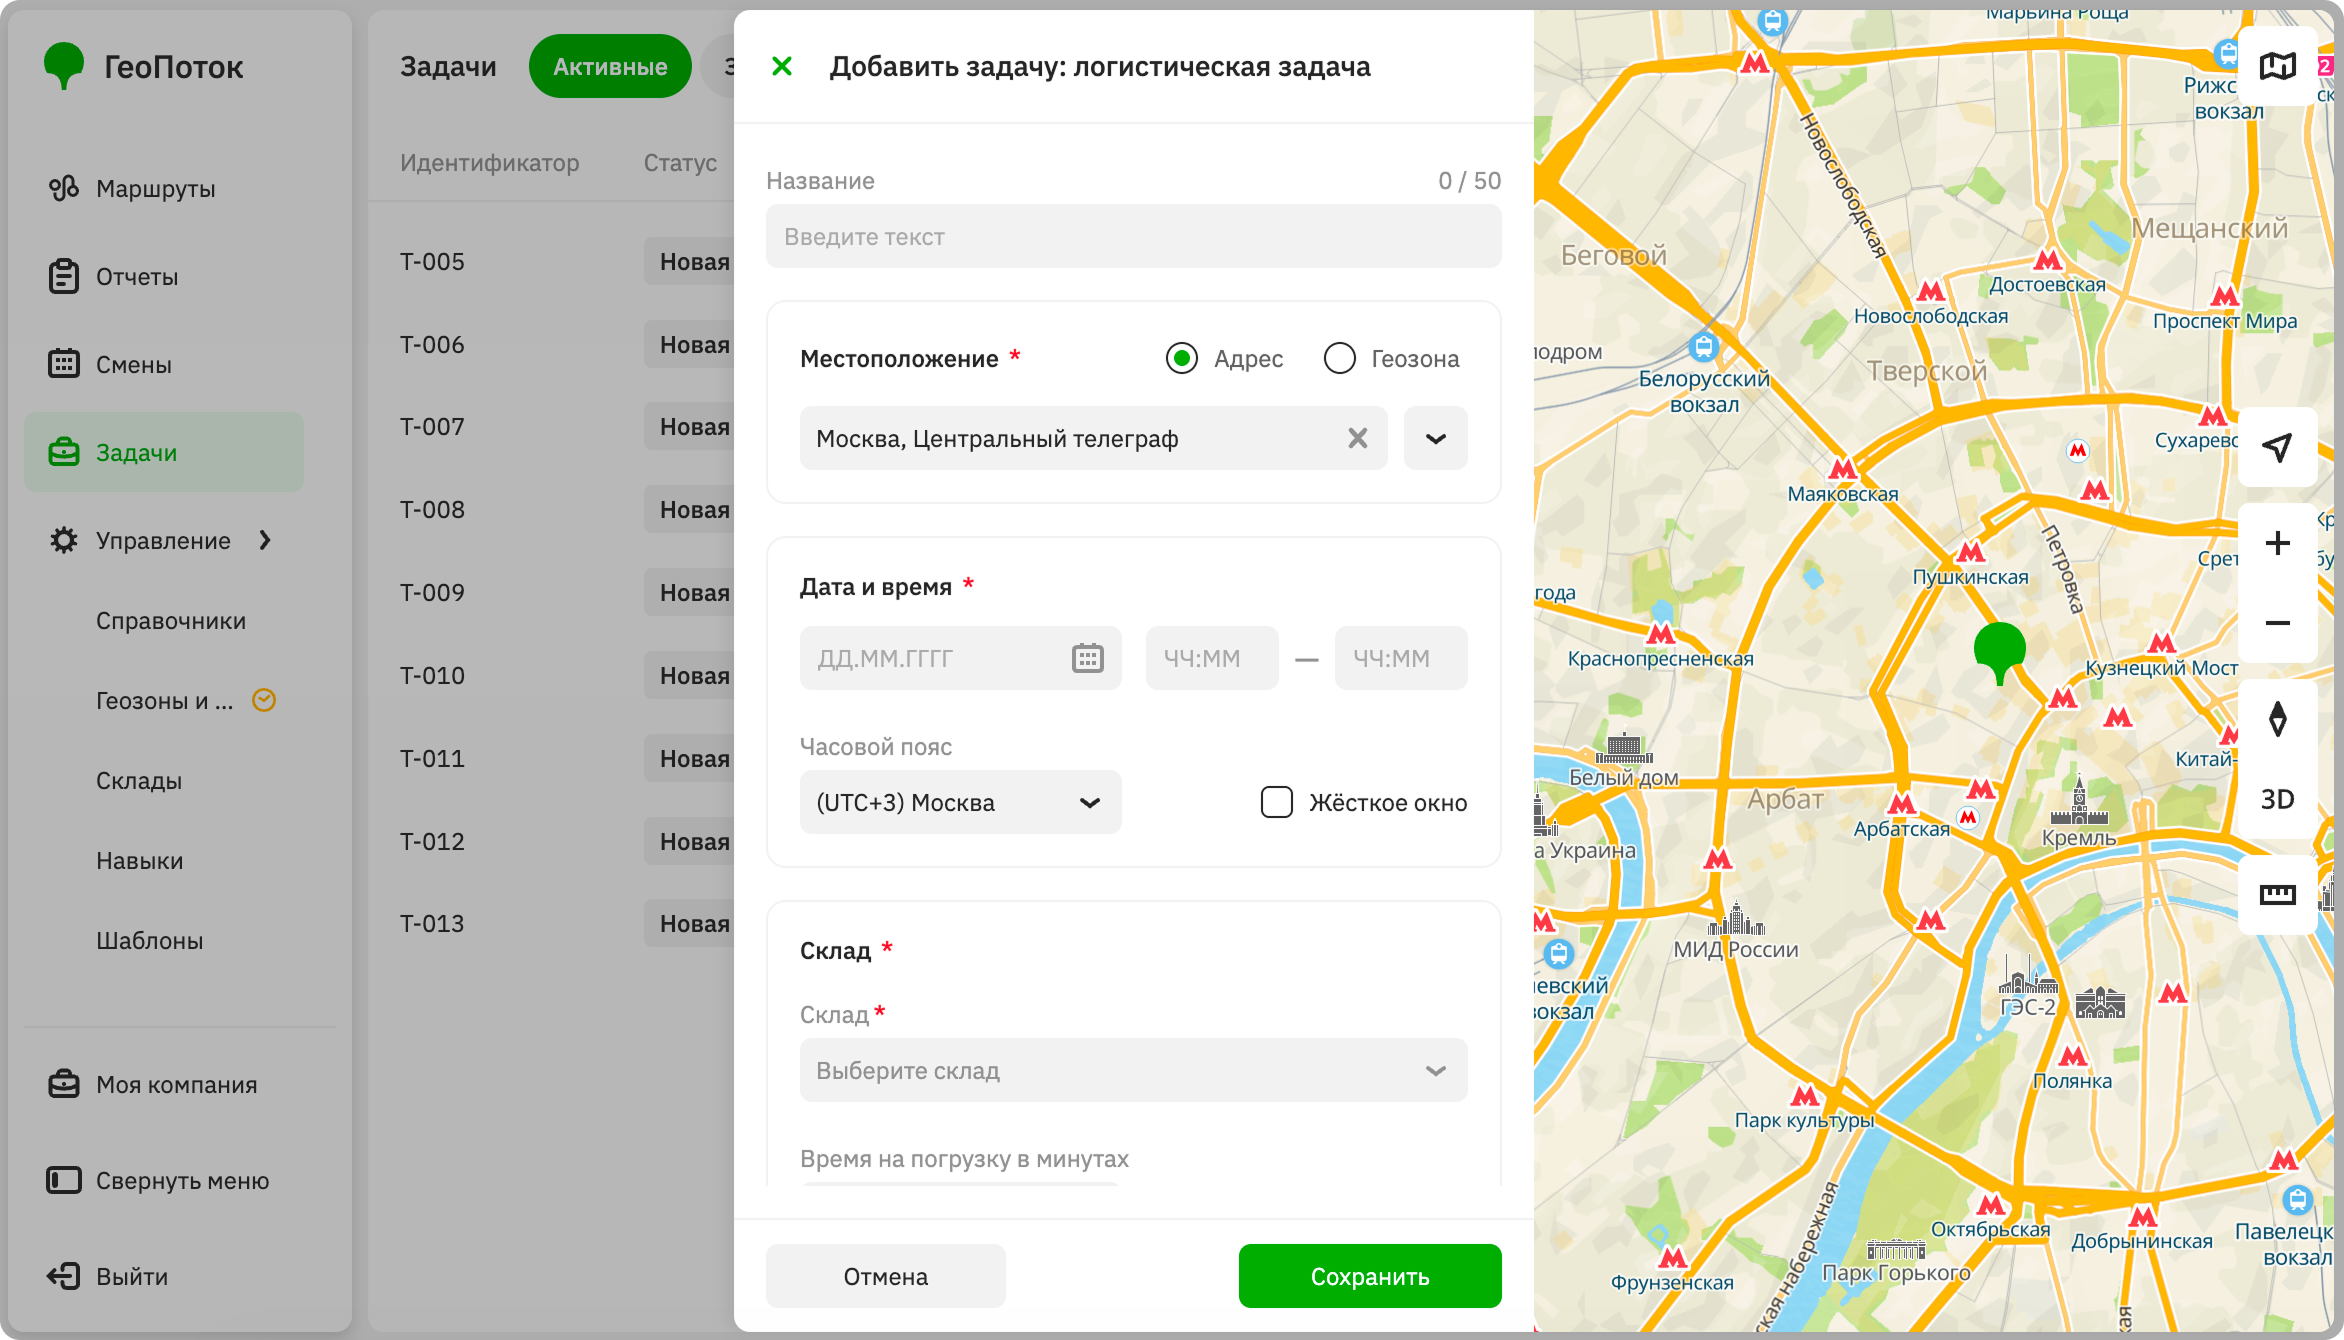
Specify the task parameters:
-
Name: unique task identifier. The field may have a different name depending on the task template, for example,
Identifier. -
Location (mandatory parameter): specify the point address in one of the following ways:
- Click the point on the map. You can drag the marker icon to any location on the map.
- Enter the point address in the field and select the option from the dropdown list.
- Enter the point coordinates in the
longitude, latitudeformat (for example,37.607132,55.7680412).
If necessary, specify the entrance, floor, apartment or office, and a comment for the address.
-
Date and time (mandatory parameter): date and time of the task execution:
- Date (mandatory parameter): date of the task execution.
- Time (mandatory parameter): time interval in which the task must be completed.
- Time for the task in minutes: time required to complete the task.
- Time zone (mandatory parameter): time zone in which the time of the task execution is specified.
- Hard time window: select the checkbox if the task must be performed only at the specified time. If the parameter is specified, the agent will not be able to perform the task earlier or later than the specified time.
-
Depot (mandatory parameter): depot from which the agent must pick up the shipment:
-
Depot: select a depot from the list or add a new one. To add a depot, click Add depot and specify its parameters:
-
Name (mandatory parameter): depot name.
-
Description: depot description.
-
Address (mandatory parameter): specify the depot address in one of the following ways:
- Click the point on the map. You can drag
 icon to any location on the map.
 - Enter the depot address in the field and select the option from the dropdown list.
- Enter the depot coordinates in the
longitude, latitudeformat (e.g.,37.607132,55.7680412).
If necessary, specify the entrance, floor, office, and a comment for the address.
- Click the point on the map. You can drag
-
Work schedule: depot operating hours, taken into account when you create route plans:
- Time zone: time zone in which the depot working hours are specified.
- Days of the week: days of the week when the depot operates.
- Working hours: time interval when the depot operates. To add a working interval, click Add interval and enter the time. To delete an interval, click
 icon next to it.
 - Hard time window: select the checkbox if the depot can only be visited at the specified time. If an agent cannot arrive at the depot within the specified time interval, the depot is excluded from route calculation.
-
Order assembly time in minutes: time required to assemble an order at the depot.
-
-
Loading time in minutes: time required to load the order at the depot.
-
-
-
Specify other attributes, which depend on the task template.
-
Click Save.
Importing tasks
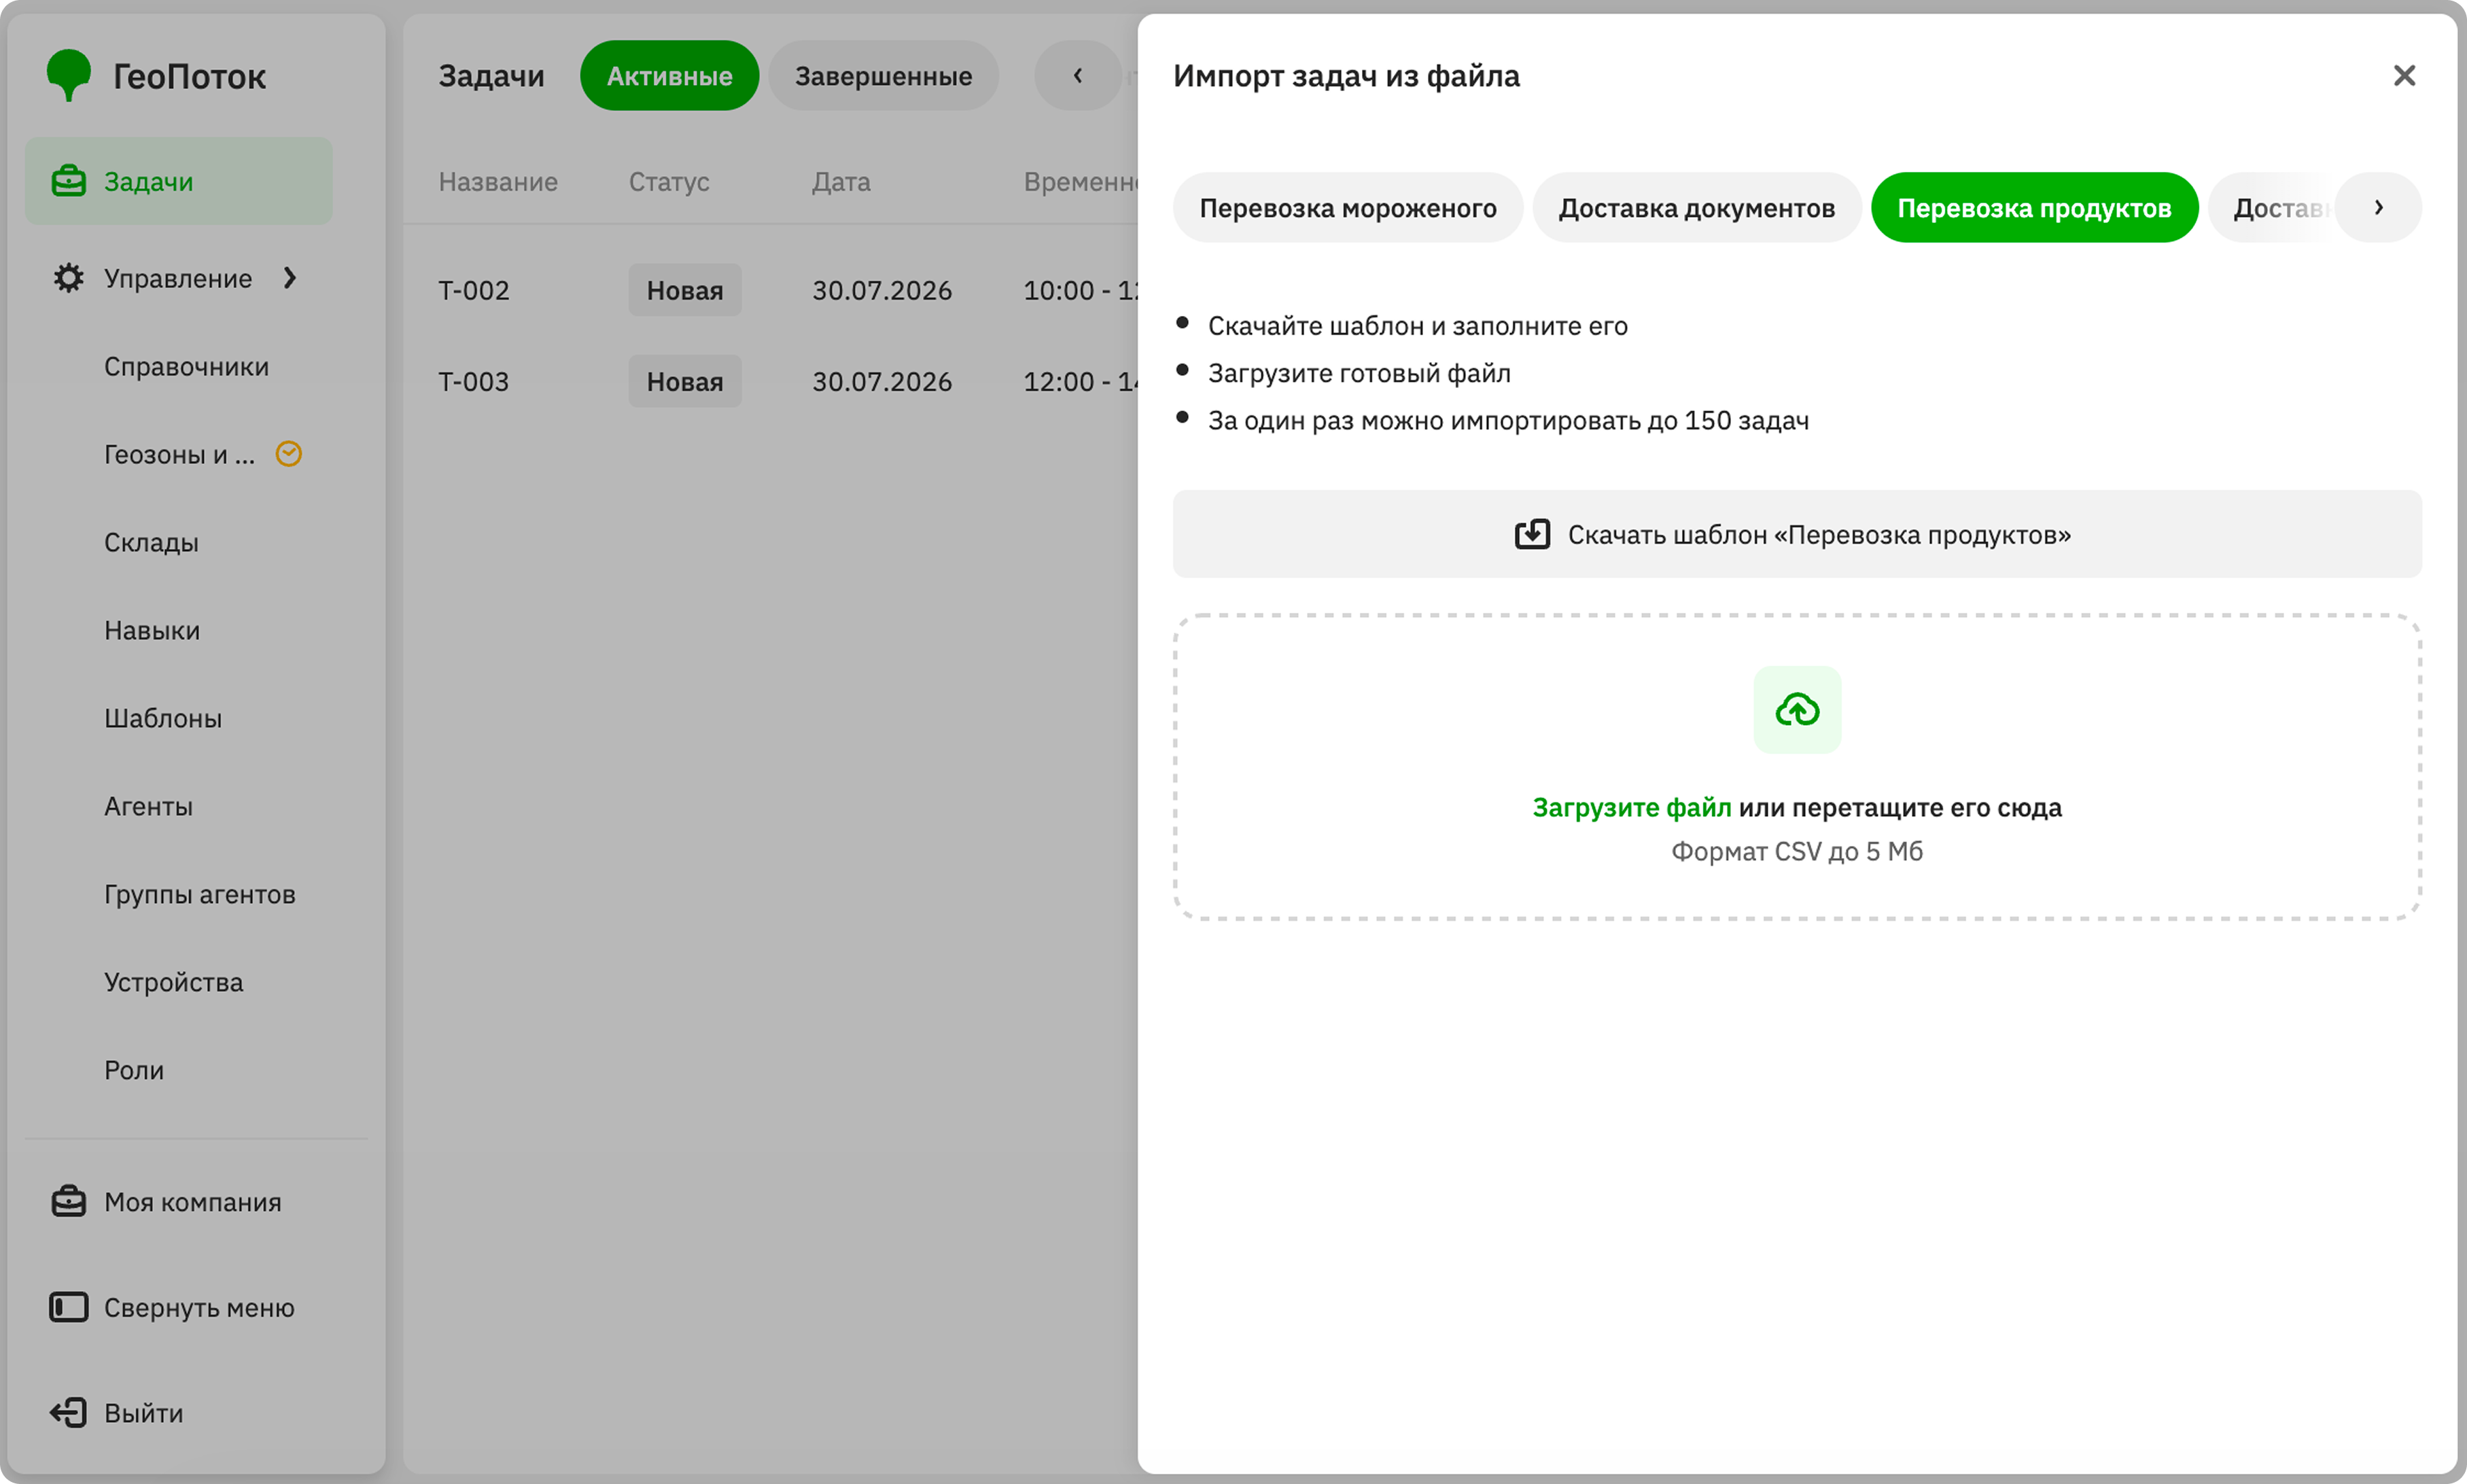
To create multiple tasks with similar attributes from a single task template, download the template, fill it out, and import tasks from a CSV file:
-
Go to the Tasks tab.
-
Click Import.
-
Select or create a task template. To create a template, click Add task template: for details, see the Creating a task template section.
-
Click Download template.
-
Fill in the template with task data. The template shows which data to add and includes an example of filling out. Tasks must contain mandatory attributes: unique identifier, the date and time of task execution in the time zone specified in the template, location, and the depot from which the agent must pick up the shipment. For more information on attributes, see the Creating a task template section.
One file can contain up to 350 tasks. The maximum file size is 5 MB.
-
Return to the importing tasks form and drag the file into the upload area.
-
If there are errors in the file, a notification indicating the rows with errors will appear. To upload tasks, correct the errors and upload the file again.
Tasks appear in the task list after the file is processed.
Viewing task information
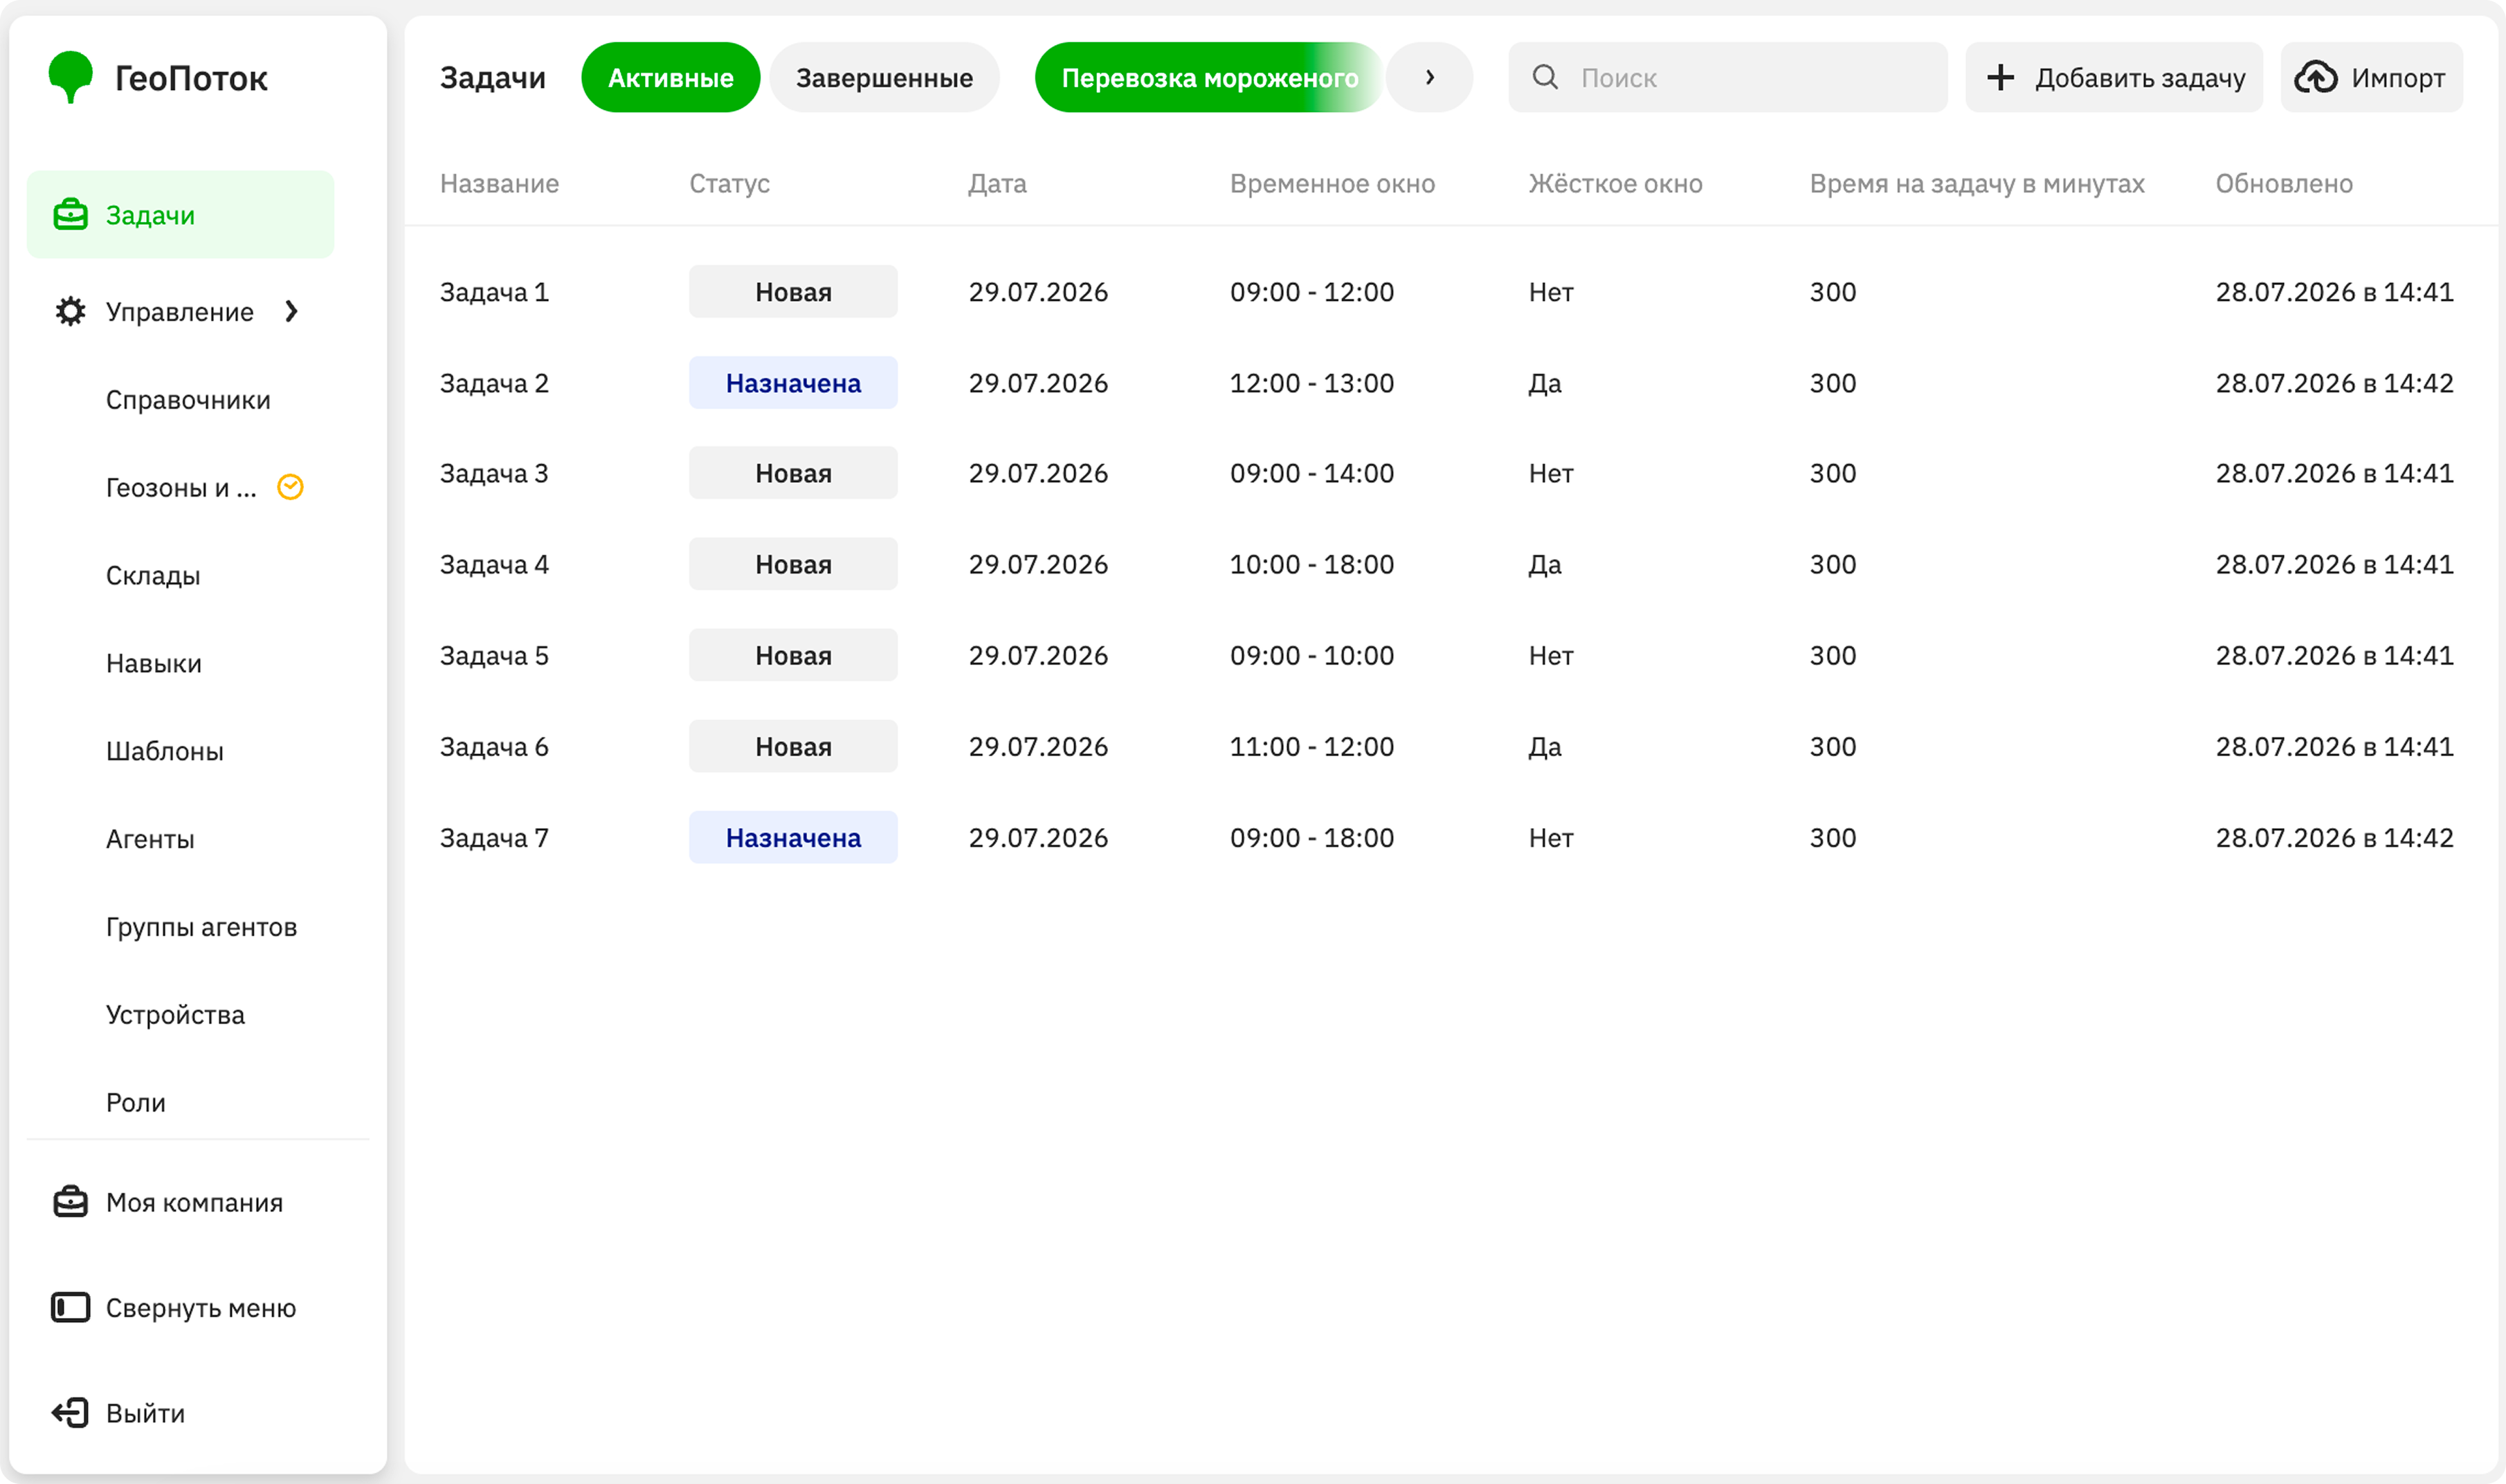
Go to the Tasks tab. You can search tasks by name, filter them by task type (template) and by status: active and completed.
The row of each task displays:
- Name: unique task identifier specified when creating the task. The field may have a different name depending on the task template: for example,
Identifier. - Status: status of the task.
- Location: address of the point where the task must be performed.
- Date: date of the task execution.
- Time window: time of the task execution.
- Hard time window: indicates if the task must be performed only at the specified time.
- Depot: depot from which the agent must pick up the shipment.
- Loading time in minutes: time required to load the order at the depot.
- Updated: date and time of the last task edit.
Other attributes may be displayed here if they were specified in the task template.
Editing a task
You can edit the task execution date and time, and other attributes that depend on the task template.
- Go to the Tasks tab.
- Select the task type (template).
- Open the task card in the list and click Edit task.
- Apply changes to the task.
- Click Save.