Agent groups
The documentation provides a description of the interface in Russian.
You can combine agents of one or different types (for example, operators and couriers) into groups.
With the Main administrator, Company administrator, and Dispatcher roles, you can work with groups on the Management → Agent groups tab:
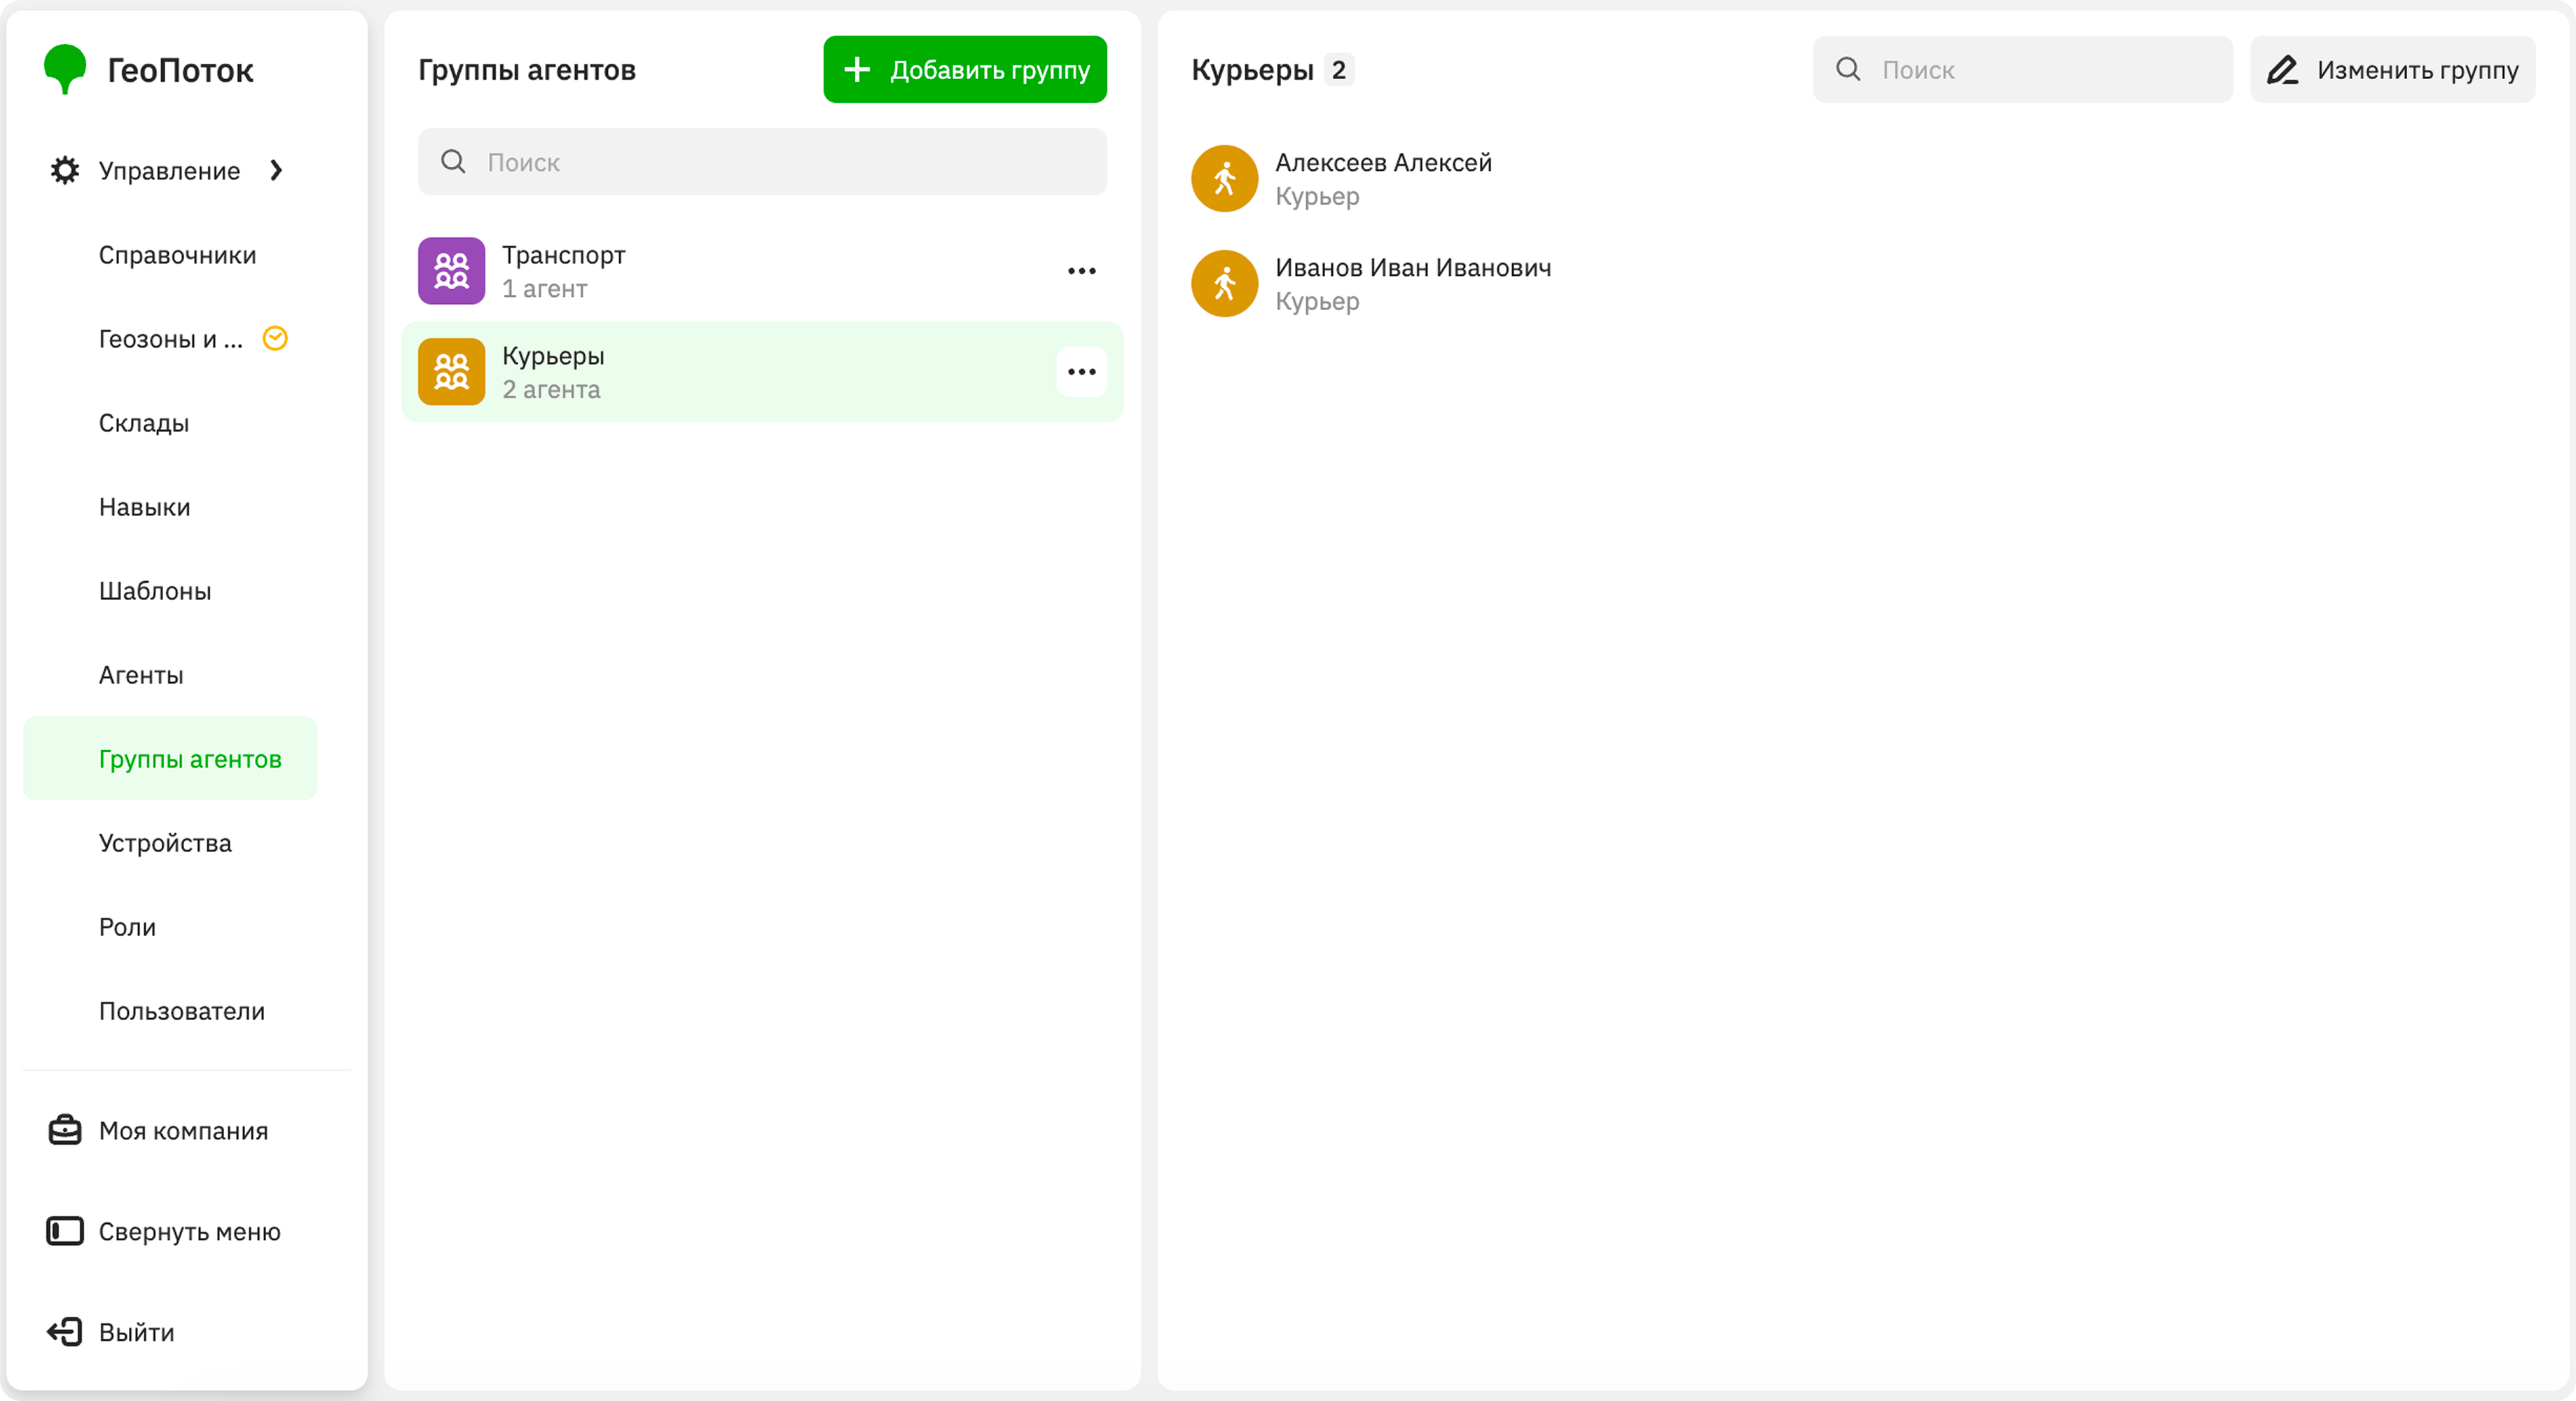
Creating a group
-
Go to the Management → Agent groups tab.
-
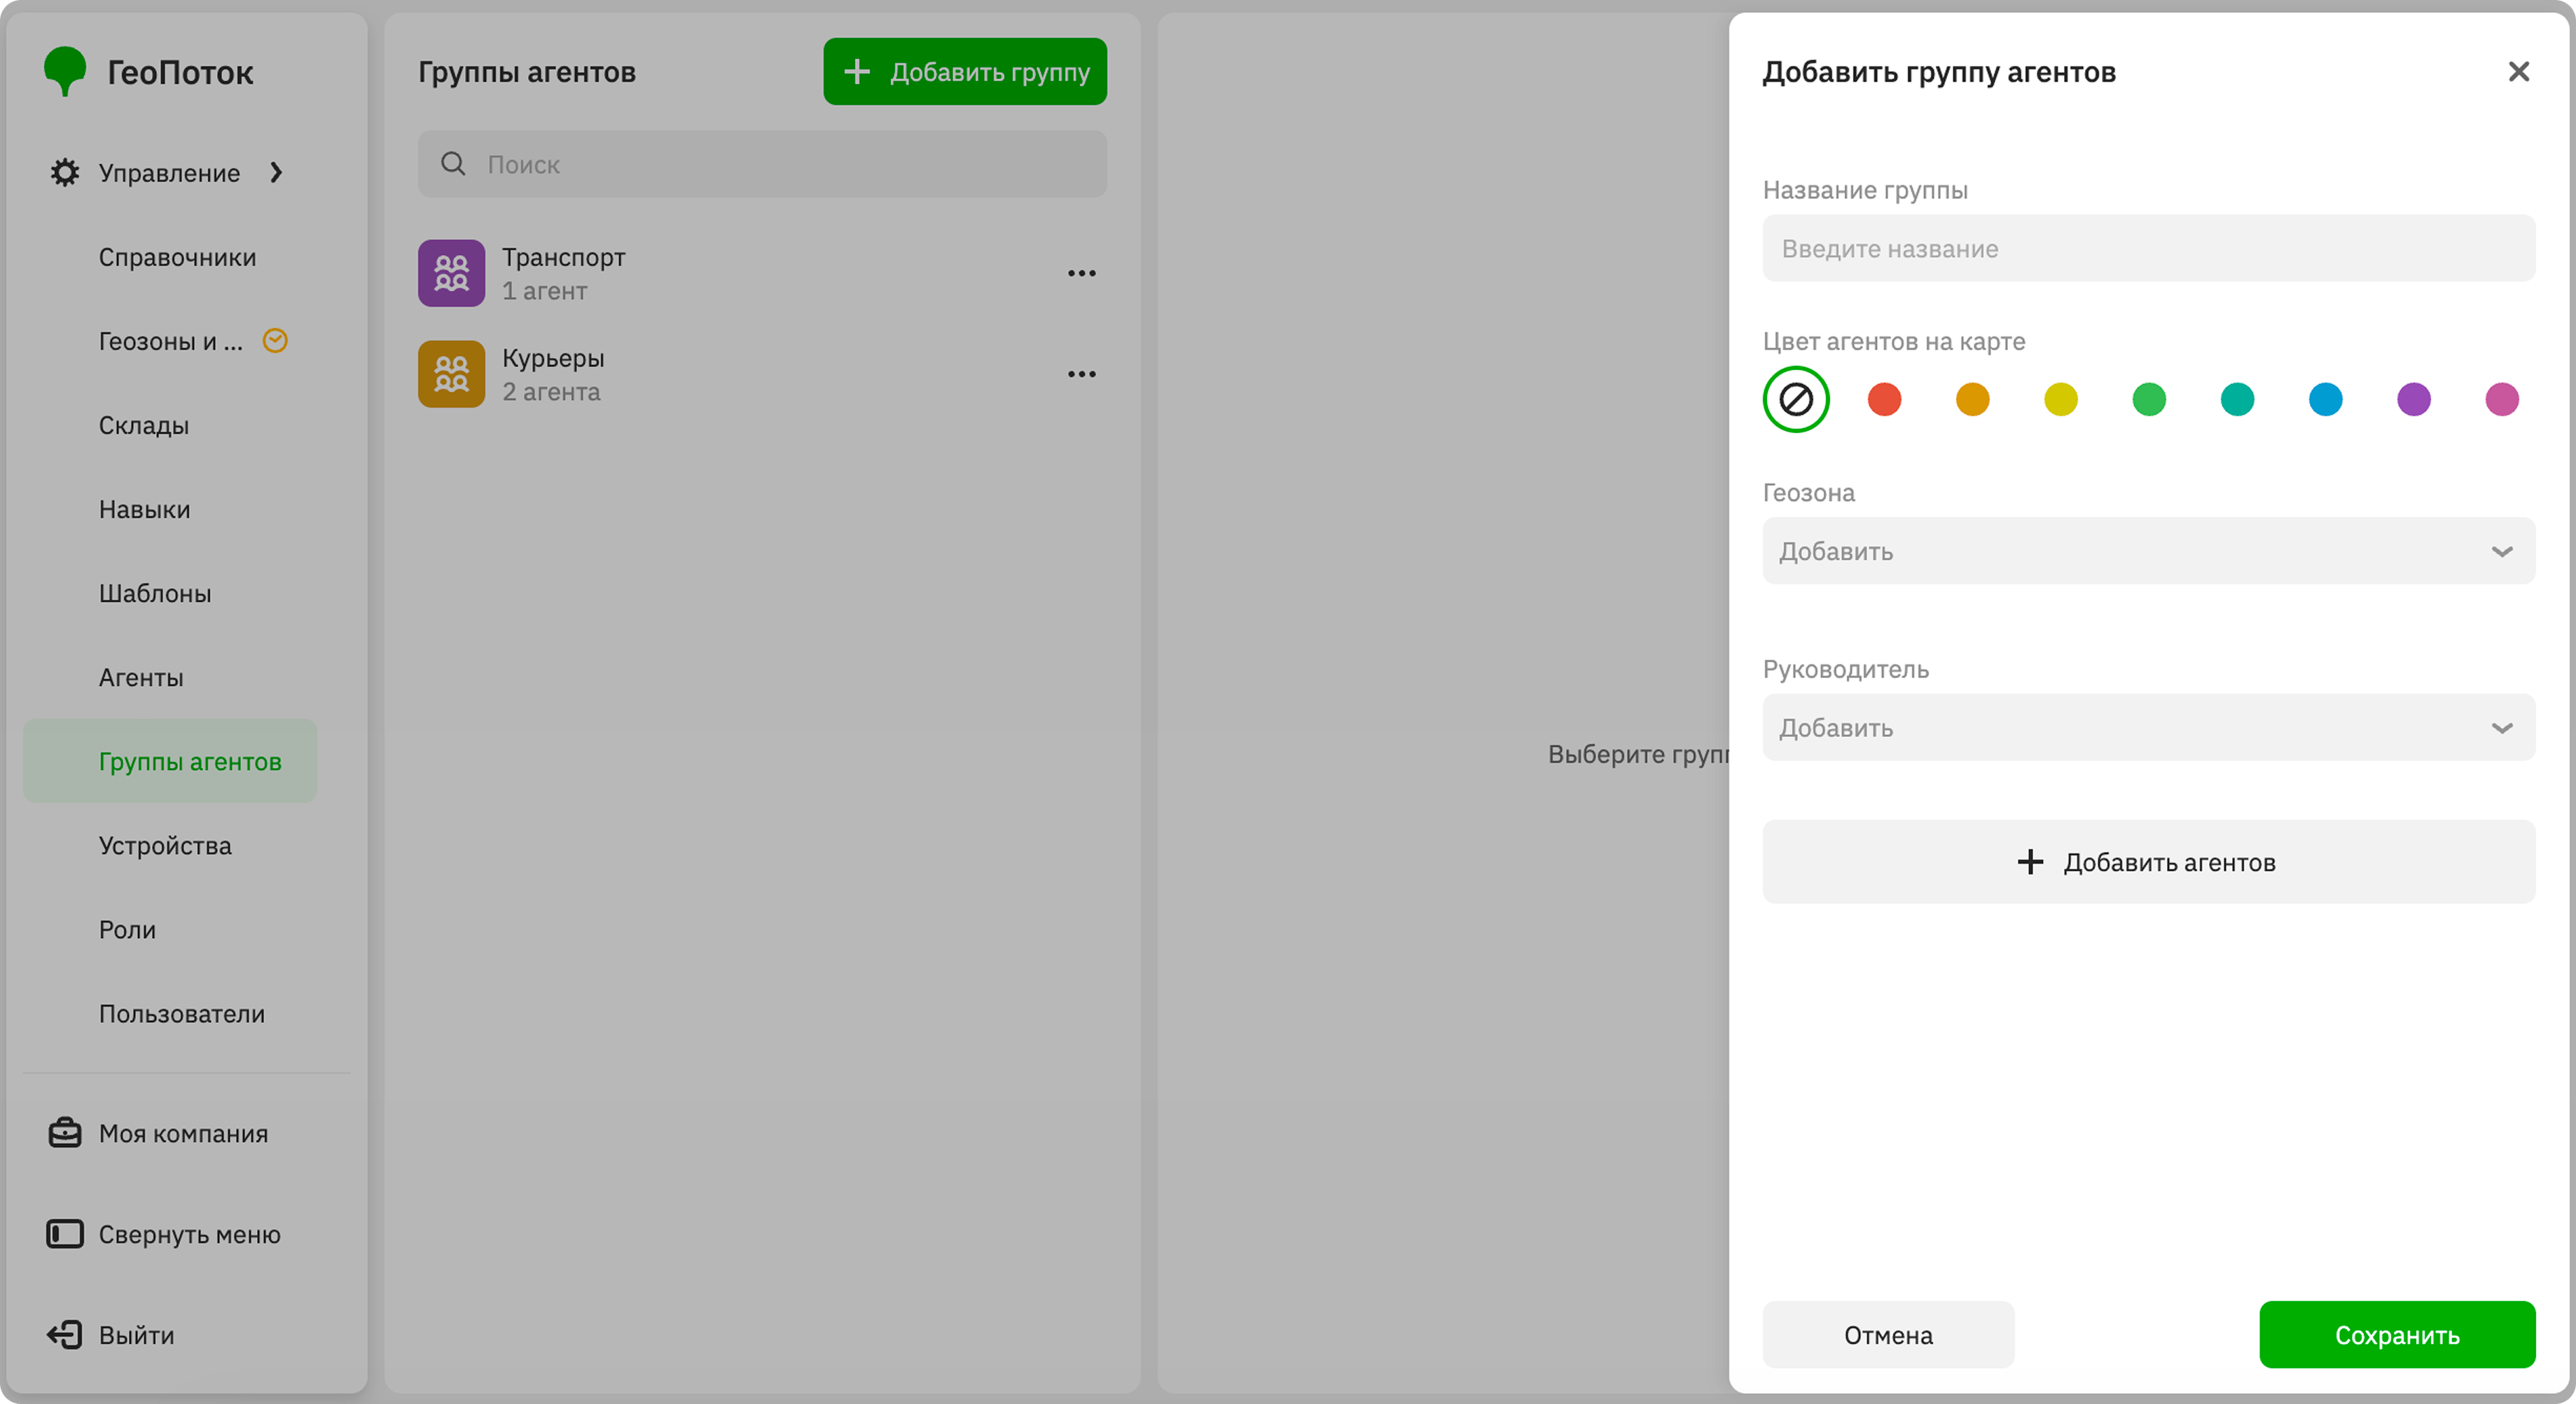
Click Add group.
-
Specify the group parameters:
-
Group name (mandatory parameter).
-
Agent color on the map: color of agent icons from the group on the map. If the agent belongs to multiple groups, the agent's icon is multicolored.
-
Manager: user who will manage the group.
-
Agents: agents that belong to the group.
To add an agent, click Add agent and select them. You can add agents created from different templates. To remove an agent from the group, click
 icon next to them and confirm the removal.
-
-
Click Save.
Editing a group
You can edit groups:
- rename the group
- change the agent icon color on the map
- change the group manager
- add or remove agents from the group
To edit a group:
- Go to the Management → Agent groups tab.
- In the group row, click
 icon and select Edit.
 - Apply changes to the group.
- Click Save changes.
Deleting a group
When you delete a group, agents from it are not deleted from the system. You can add these agents to another group.
- Go to the Management → Agent groups tab.
- In the group row, click icon and select Delete.
- Confirm the deletion.