Users
The documentation provides a description of the interface in Russian.
The administrator web panel supports a role model for access control.
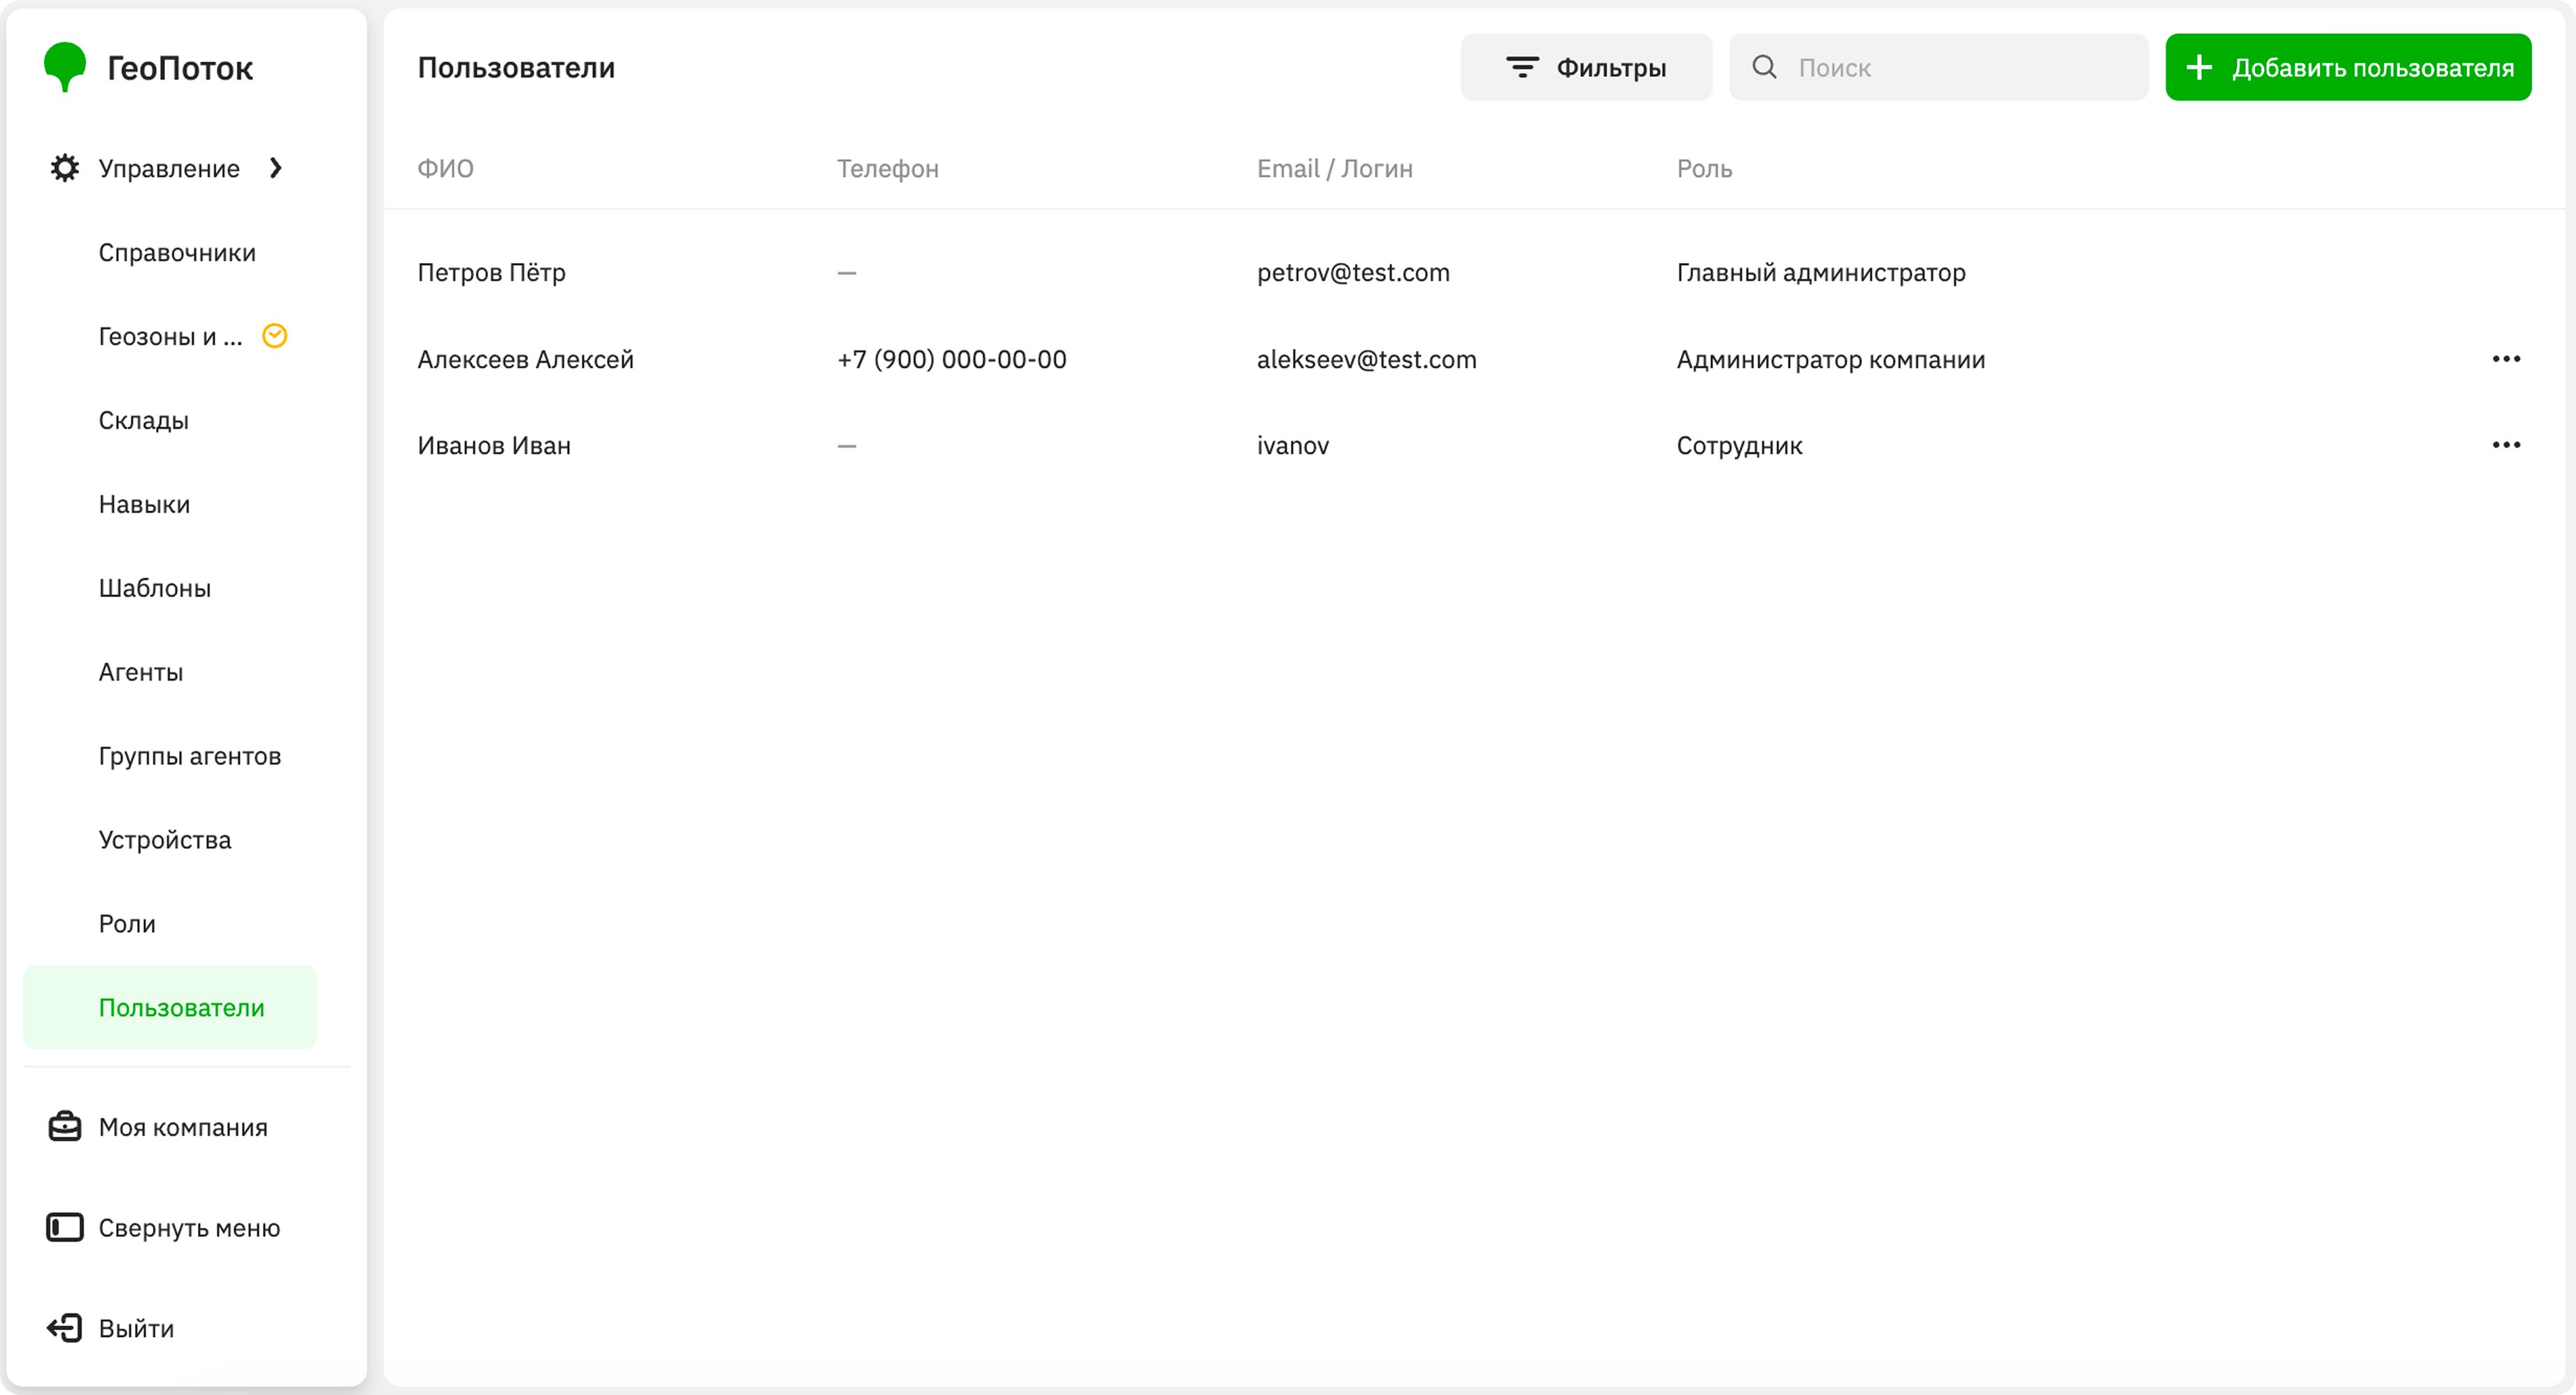
With the Main administrator and Company administrator roles, you can work with users on the Management → Users tab:
The Company administrator role can be assigned by the Main administrator. With the Dispatcher role, you can view the list of users and their information.
Adding a user
-
Go to the Management → Users tab.
-
Click Add user.
-
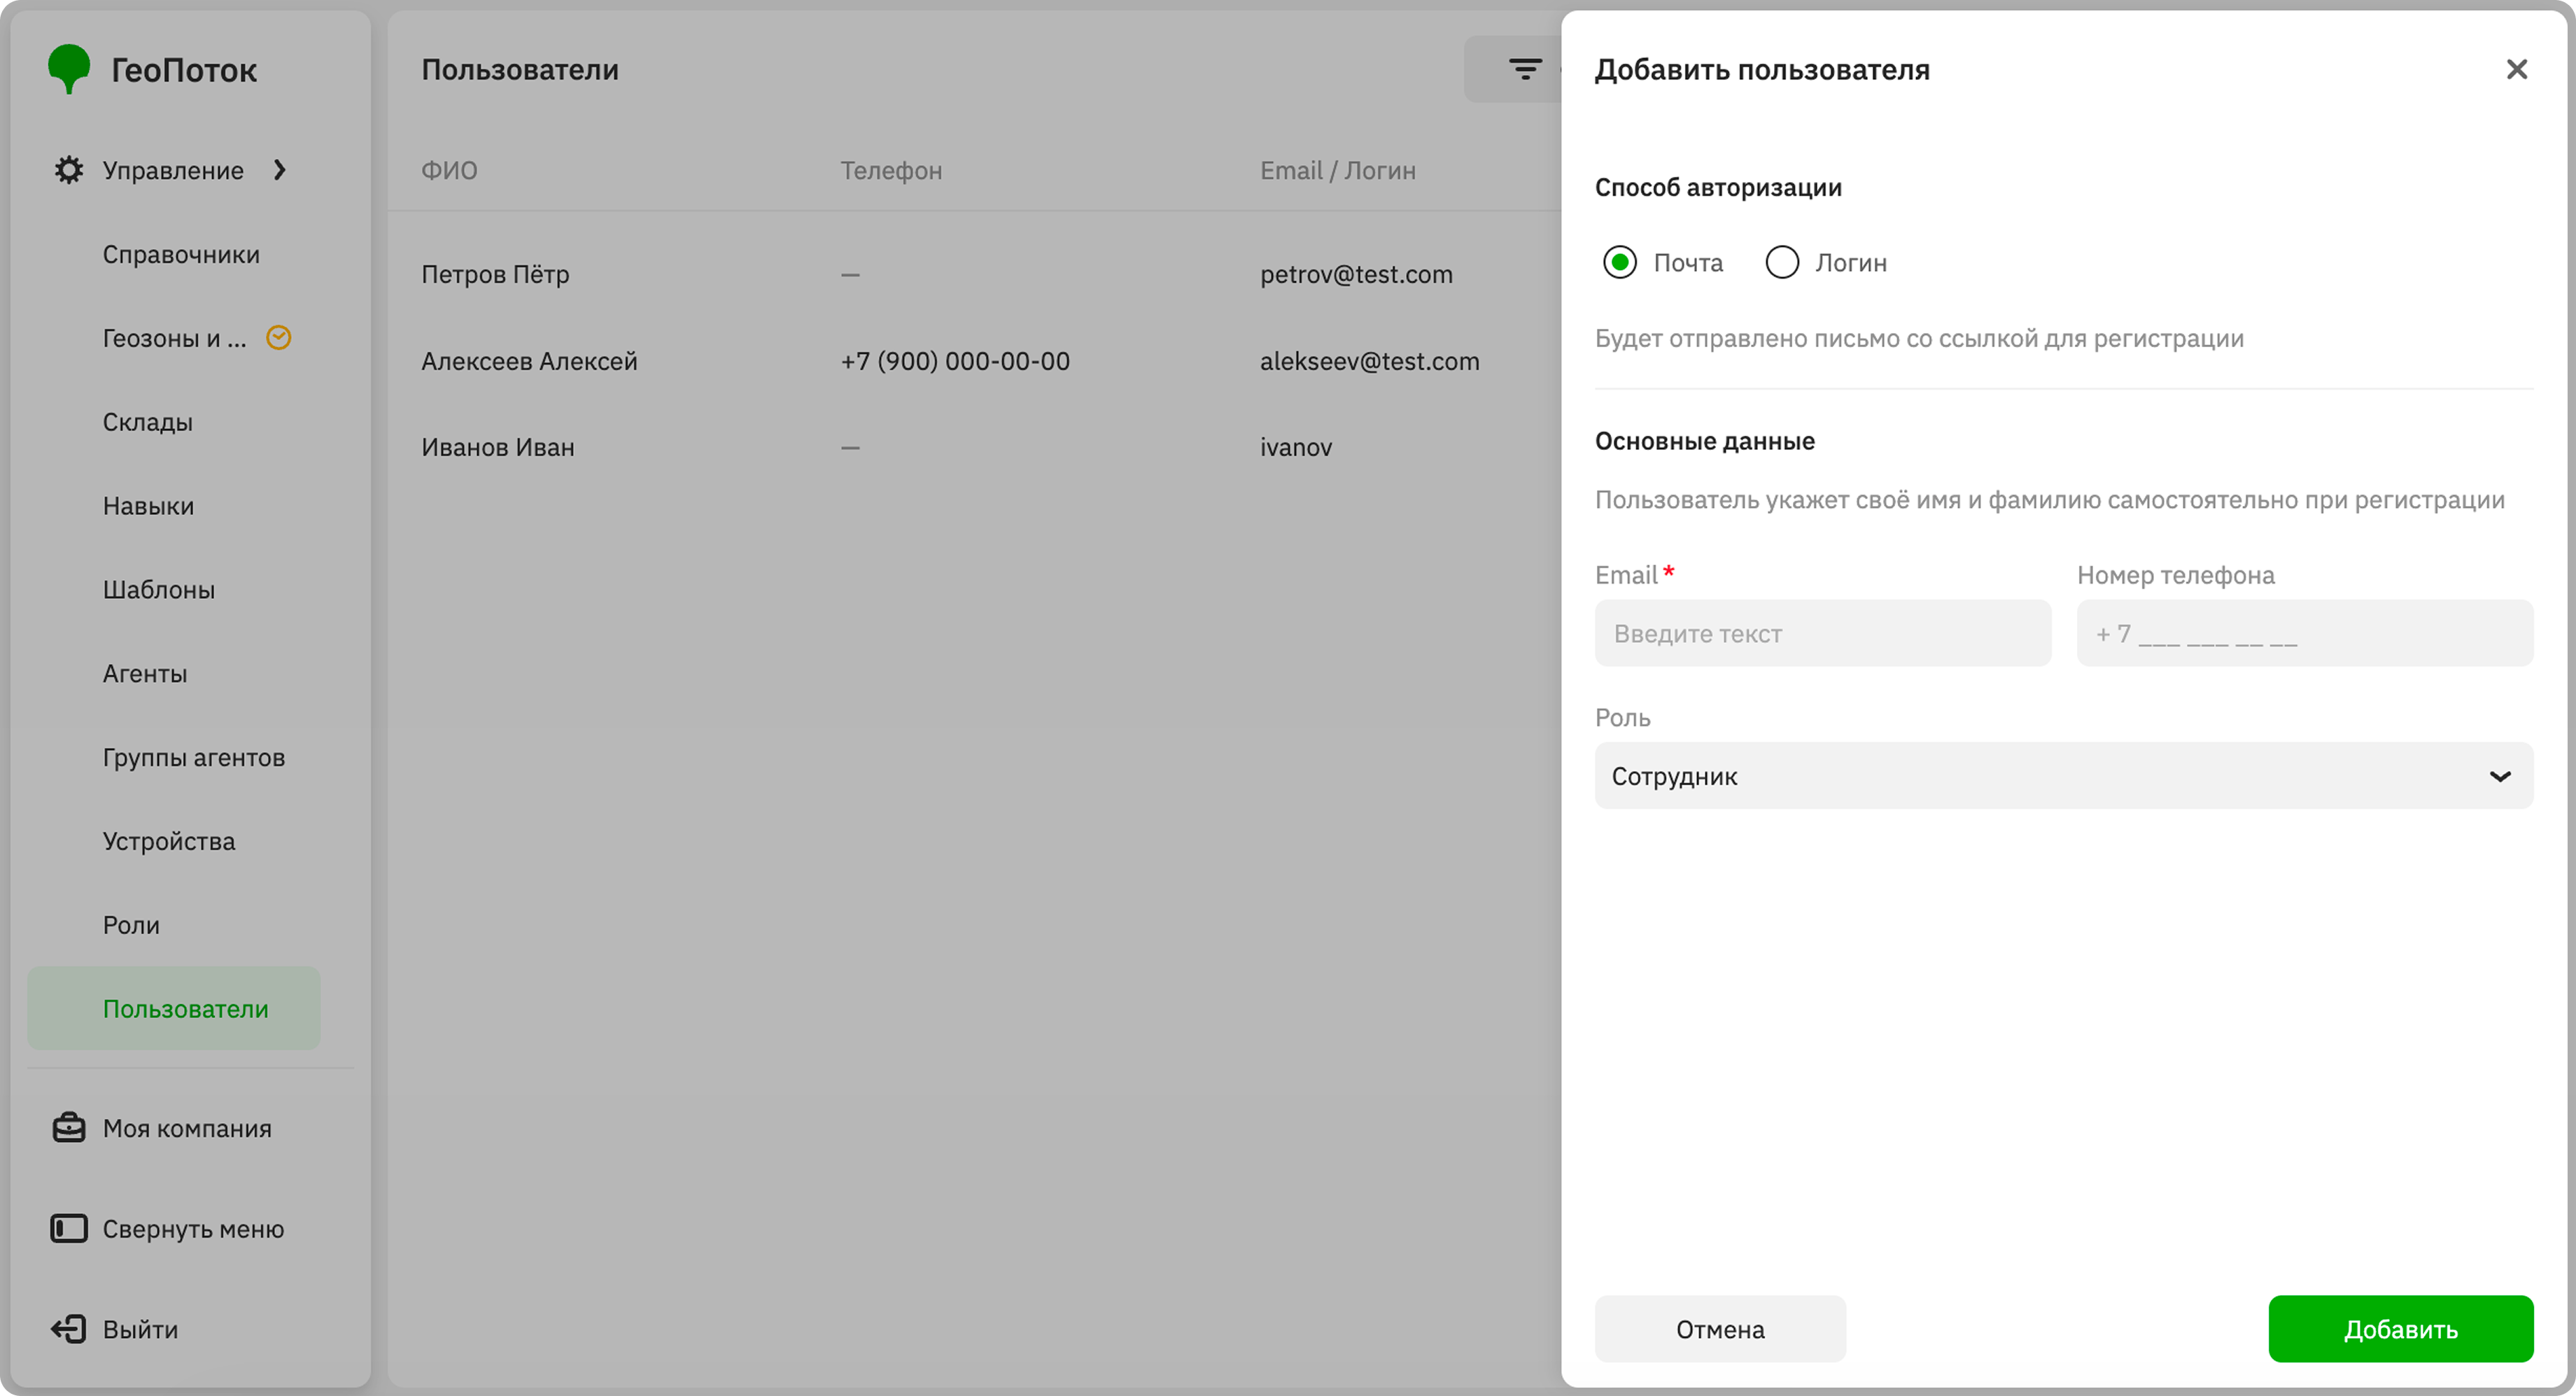
Specify the user data:
-
Authorization method: user's authorization method:
-
Email: select this method to grant the user access to the web panel and mobile application. Specify the user's email address to send a registration link. During registration, the user will create a password to log in and provide their first and last name.
The invitation is valid for 8 hours. If the user did not accept the invitation in time, click Resend invitation in their card.
-
Login: select this method to grant the user access only to the mobile application. Specify the user's last name, first name, middle name, and login. Provide the user with the login and temporary password for the first login to the application. On the next login, the user will be able to set a permanent password.
-
-
Phone number: user's phone number.
-
Role: user's role. Available roles: Company administrator (you can only assign it to users if you are the main administrator), Dispatcher, Agent group manager, Employee. For more information about roles, see the User roles section.
-
-
Click Add.
Viewing user information
- Go to the Management → Users tab.
- Open the user card. You can search users by name and filter them by invitation status.
The user card displays:
-
Full name: user's full name.
-
Main information:
-
Email / Login: user's email or login depending on the authorization method.
-
Role: user's role.
Other settings (for example, phone number) may be displayed here if they were specified when adding the user or edited later.
-
-
Settings:
- Authorization method: email or login.
- Reset password: click to reset the user's password. If the authorization method is email, the user will receive an email with a password reset link. If the authorization method is login, click Copy password and provide the new temporary password to the user. On the next login, the user will be able to set a new permanent password.
-
Creation date: date the user was created.
-
Last modified: date of the last change to the user's information.
Changing a user role
User roles can only be changed by users with the Main administrator or Company administrator roles. A Company administrator can only assign the Dispatcher, Agent group manager, and Employee roles.
To assign a different role to a user:
- Go to the Management → Users tab.
- In the user row, click
 icon and select Edit information.
 - Select a new role from the dropdown list.
- Click Save.
Editing user information
You can change the user's full name (if it was not specified by the user themselves) and phone number. Only users with the Main administrator or Company administrator roles can edit information.
- Go to the Management → Users tab.
- In the user row, click icon and select Edit information.
- Apply changes to the data.
- Click Save.
Blocking a user
The user will not be able to log in to the system (web panel or mobile application) and will be removed from shifts and tasks. The user's data will be saved, and you will be able to unblock them later.
- Go to the Management → Users tab.
- In the user row, click icon and select Block.
- Confirm the blocking.
To unblock a user, click icon, select Unblock, and confirm the action.
Deleting a user
A user will be removed from shifts and tasks they were added to. You cannot restore a deleted user.
- Go to the Management → Users tab.
- In the user row, click icon and select Delete.
- Confirm the deletion.