Getting started
1. Sign in to the Platform Manager
-
Open the invitation email from your organization's administrator (
team@platform.2gis.rusender) with the Invitation to Platform Manager subject. If you did not receive the email, check your Spam folder or contact your administrator. -
In the email, click Accept invitation or follow the link in the email.
-
In the opened dialog, verify your email address, create a password for the Platform Manager, and click Sign up.
-
Enter your registration details:
- last name, first name, and middle name
- phone number
- email address
- password
-
Click Sign up.
-
Open the Platform Manager:
-
Make sure you have access to the project you will be working on and an active CityLens license. If you do not have access, contact your organization's administrator.
2. Install the mobile application
Before installing the mobile application, make sure that the device you will use for recording meets the requirements for mobile devices.
Install the application depending on the operating system of your device:
- iOS
- Android
The application is installed on iOS devices via TestFlight, the official Apple beta testing service.
-
Install the TestFlight application:
- Open the TestFlight page in App Store.
- Click Get and Install.
-
Accept the invitation to TestFlight from the Urbi manager:
- Open the invitation email to TestFlight or follow the link sent by the manager. The invitation must be accepted on a device with the same Apple ID used in the App Store. If you did not receive the invitation, check your Spam folder or contact the Urbi manager.
- Click Start testing.
- If the TestFlight application requests you to sign in to your Apple ID, use the same account as in the App Store on this device.
- Accept the beta testing terms.
-
Install the CityLens application:
-
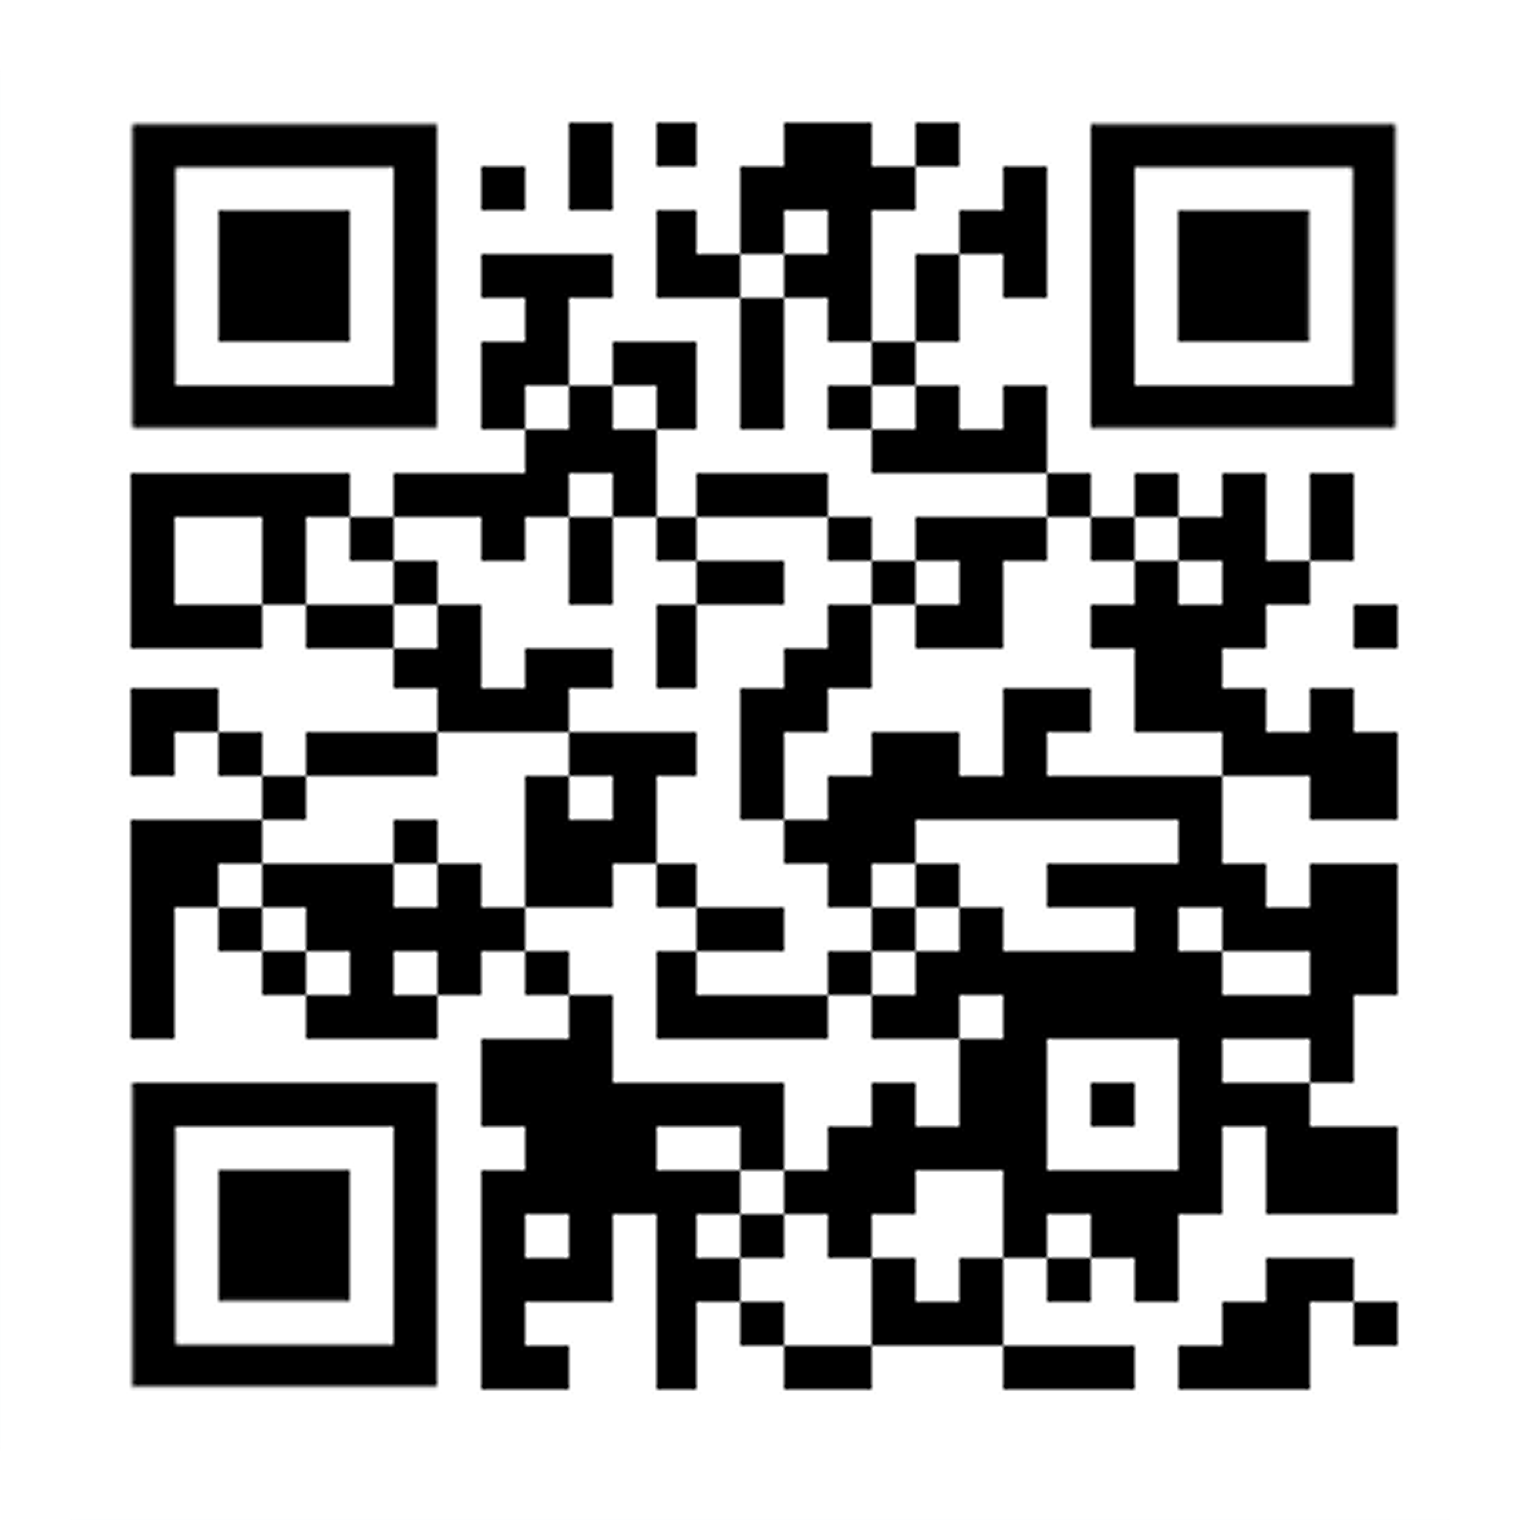
Find the CityLens application (or Cityscan depending on the build) in TestFlight or scan the QR code:
QR code
-
Click Install and wait for the download to complete.
-
In the future, you will be able to update the application via TestFlight.
The application is installed on Android devices using F-Droid, a repository of free software for Android.
-
Install the F-Droid application:
-
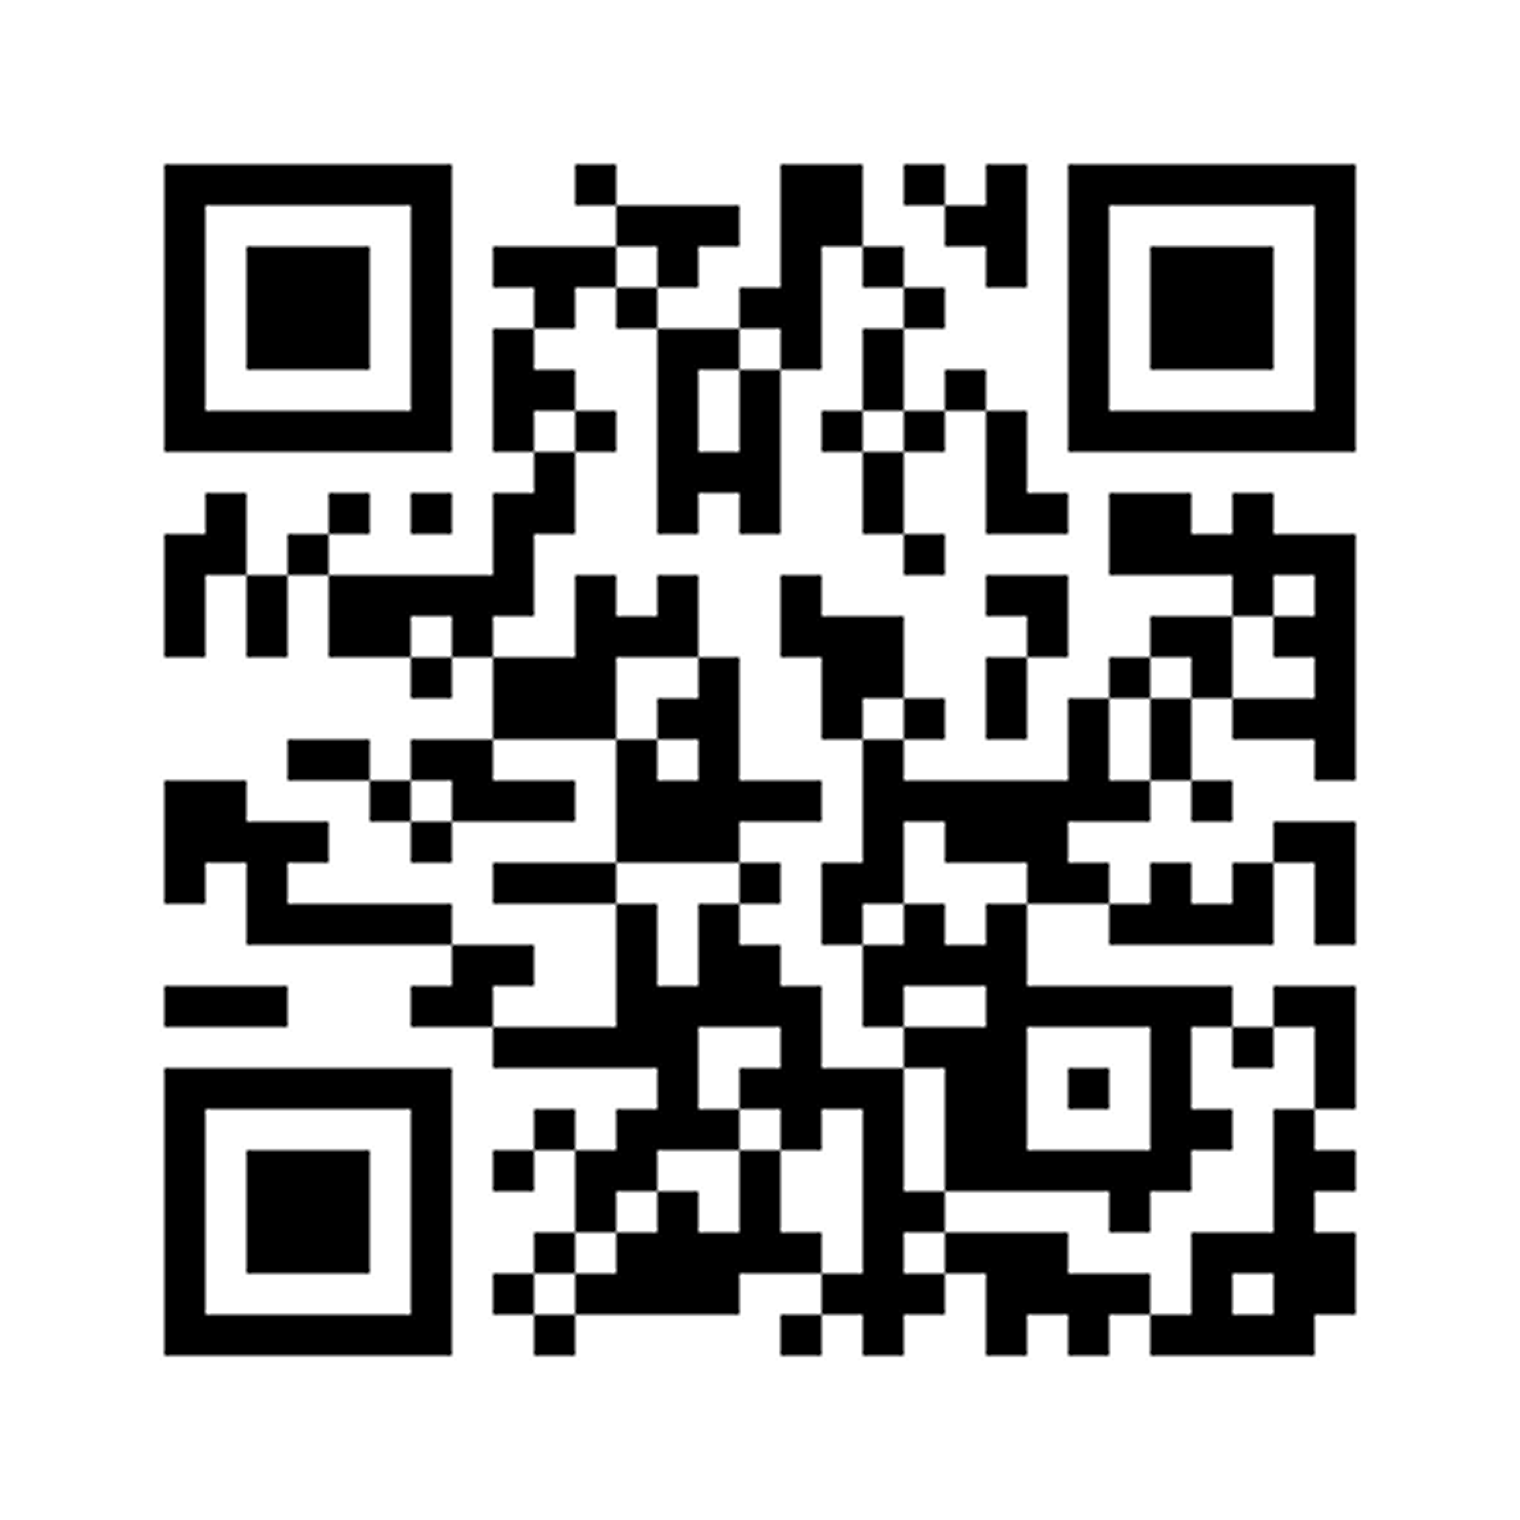
Download the F-Droid application from the official website or scan the QR code:
QR code
-
Open the downloaded
.apkfile and wait for the installation to complete.
-
-
Add the CityLens application repository to F-Droid:
-
Open the F-Droid application.
-
Go to the Settings section.
-
Set the maximum value for the Automatic updates period option.
-
Go to the Repositories section and click +.
-
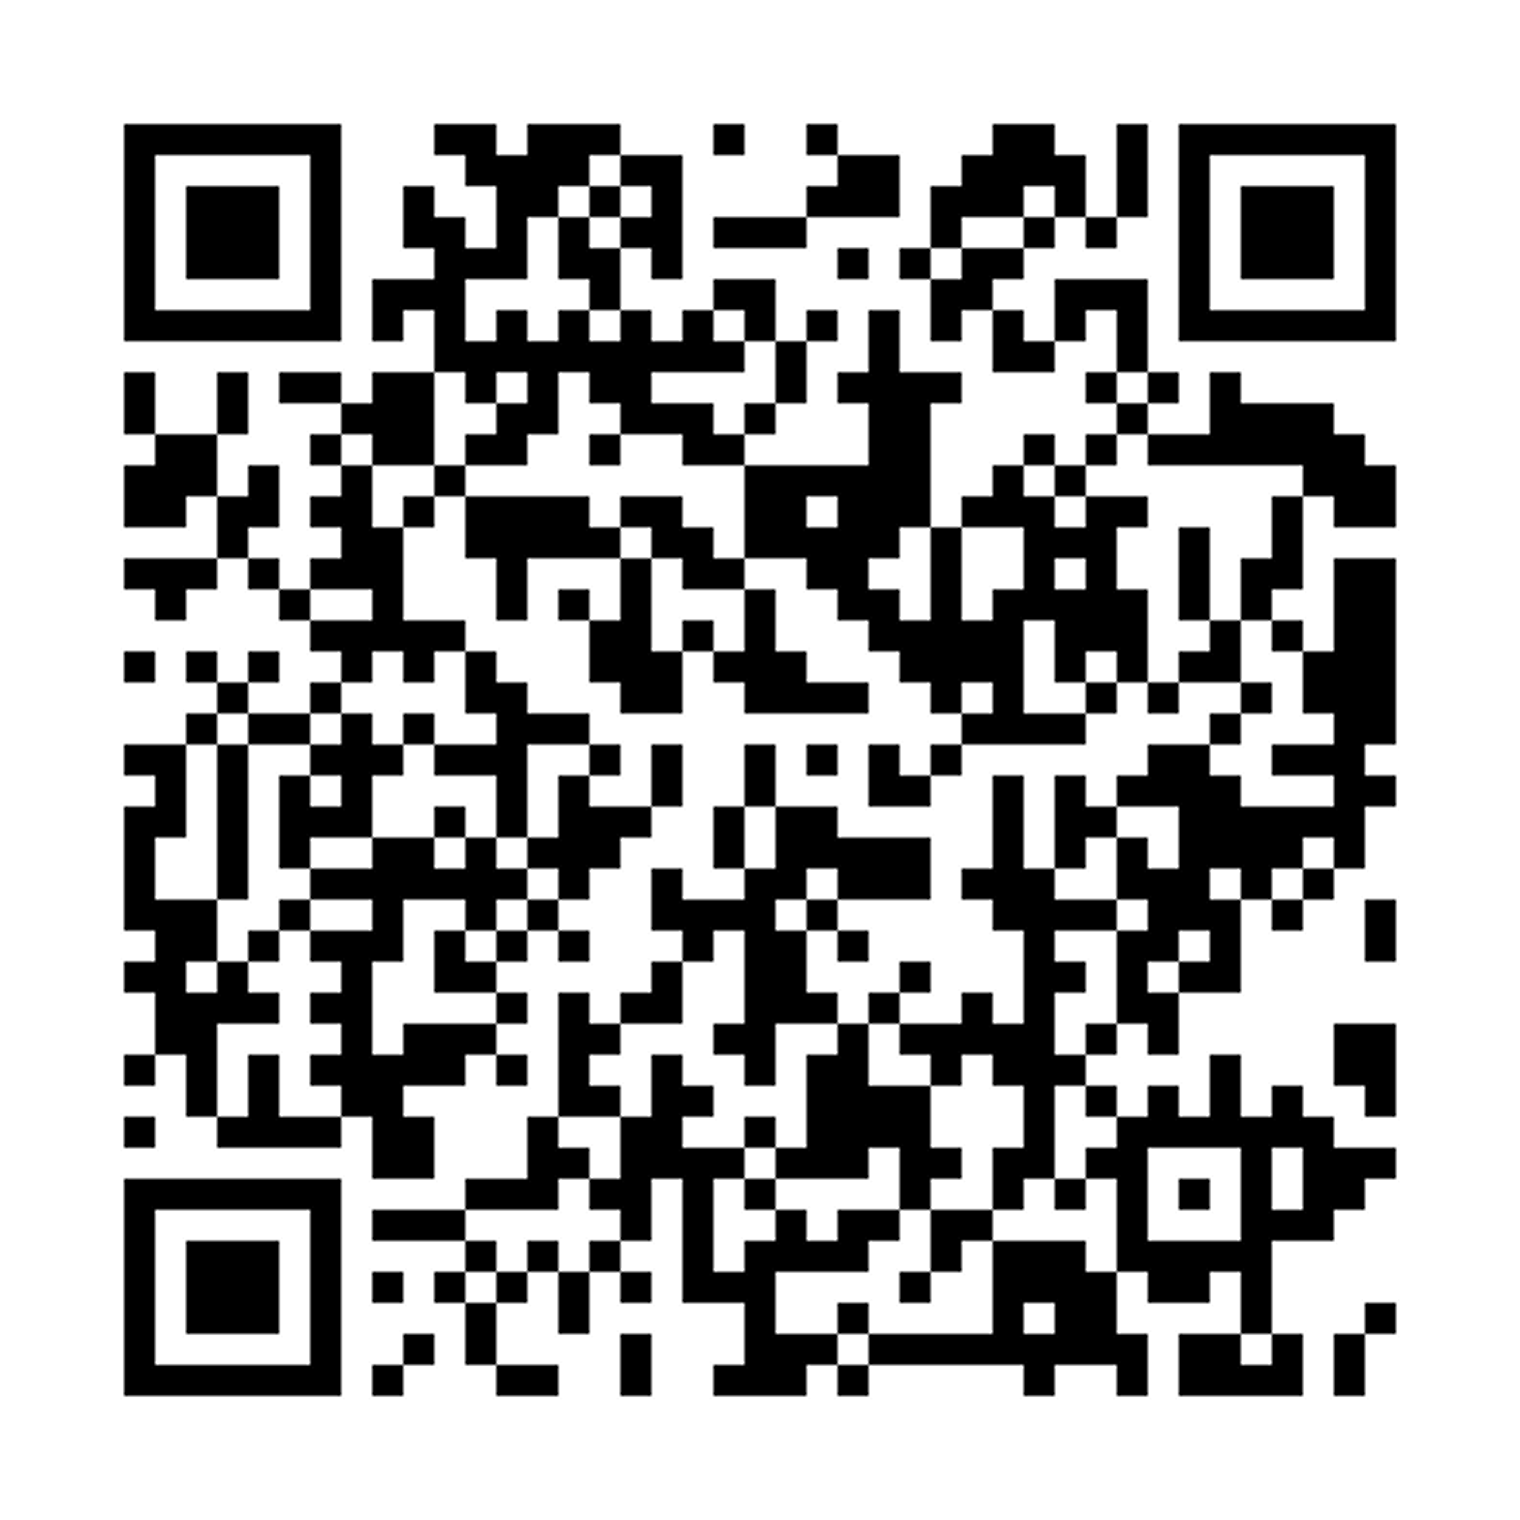
In the opened dialog, click Scan QR code and scan the QR code:
QR code
-
Click Add repository.
-
-
Install the CityLens application:
- Open the F-Droid application.
- Go to the Latest section and make sure that the added repository appears in the list.
- Find the CityLens application (or Cityscan depending on the build) and click Install.
- The application will request access to the device's files and resources. Click Allow and wait for the installation to complete. If the application does not install, check if installing applications from unknown sources is allowed in the device settings.
In the future, you will be able to update the application via F-Droid.
3. (Android only) Grant permissions for the application
Depending on the device model, setting names may differ.
-
Allow background activity for the application:
- Go to the Settings → Applications → CityLens (or Cityscan depending on the build) → Battery usage section.
- Select Allow working in the background.
-
Disable battery optimization:
- Go to the Settings → Battery → Battery optimization section.
- Find the CityLens application (or Cityscan depending on the build) and select Do not optimize.
-
Allow application auto-start:
- Go to the Settings → Battery → Background usage limits section.
- Make sure the CityLens application (or Cityscan depending on the build) is not in the Sleeping applications list.
-
Allow the application to send notifications:
- Go to the Settings → Applications → CityLens (or Cityscan depending on the build) → Notifications section.
- Enable Allow notifications and Show notifications on the lock screen options.
-
Check that the application works in the background. While the application is running, you should receive incoming calls and push notifications, and the application should work when the screen is locked.
4. Configure the application
-
Open the application and tap Sign in with Platform ID.
-
Sign in using the login and password you created when signing up in the Platform Manager.
-
(Recommended) Download an offline map of the territory you plan to drive so that you do not depend on network quality:
- Go to the Settings → Maps section.
- Select and download the required territories of cities or regions.
5. Prepare for recording
- In your mobile device settings, enable Wi-Fi (you do not need to connect to any network) and keep it turned on during the recording session. This improves the accuracy of location data and the display of objects and tracks on the map.
- (Android only) If your device may not have enough storage to record all detour tracks, prepare an external storage device (a flash drive) and a cable to connect it. During recording, you will be able to export tracks to the external storage.
- Make sure that your device is fully charged. Using the power saving mode is not recommended.
- Safely mount the device in the car: see the camera and mounting requirements.
- Review the recording conditions requirements.